


How-To Guides
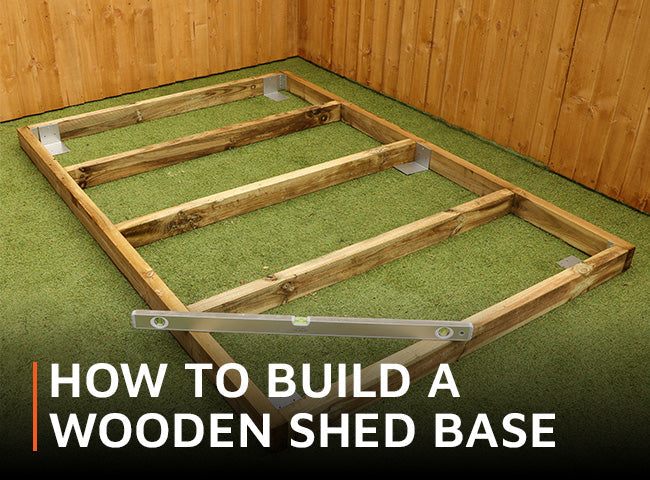
How to build a wooden shed base
Learn how to build a wooden shed base in this comprehensive, step by step guide. Find out everything you need to do, as well as what all the materials needed are.
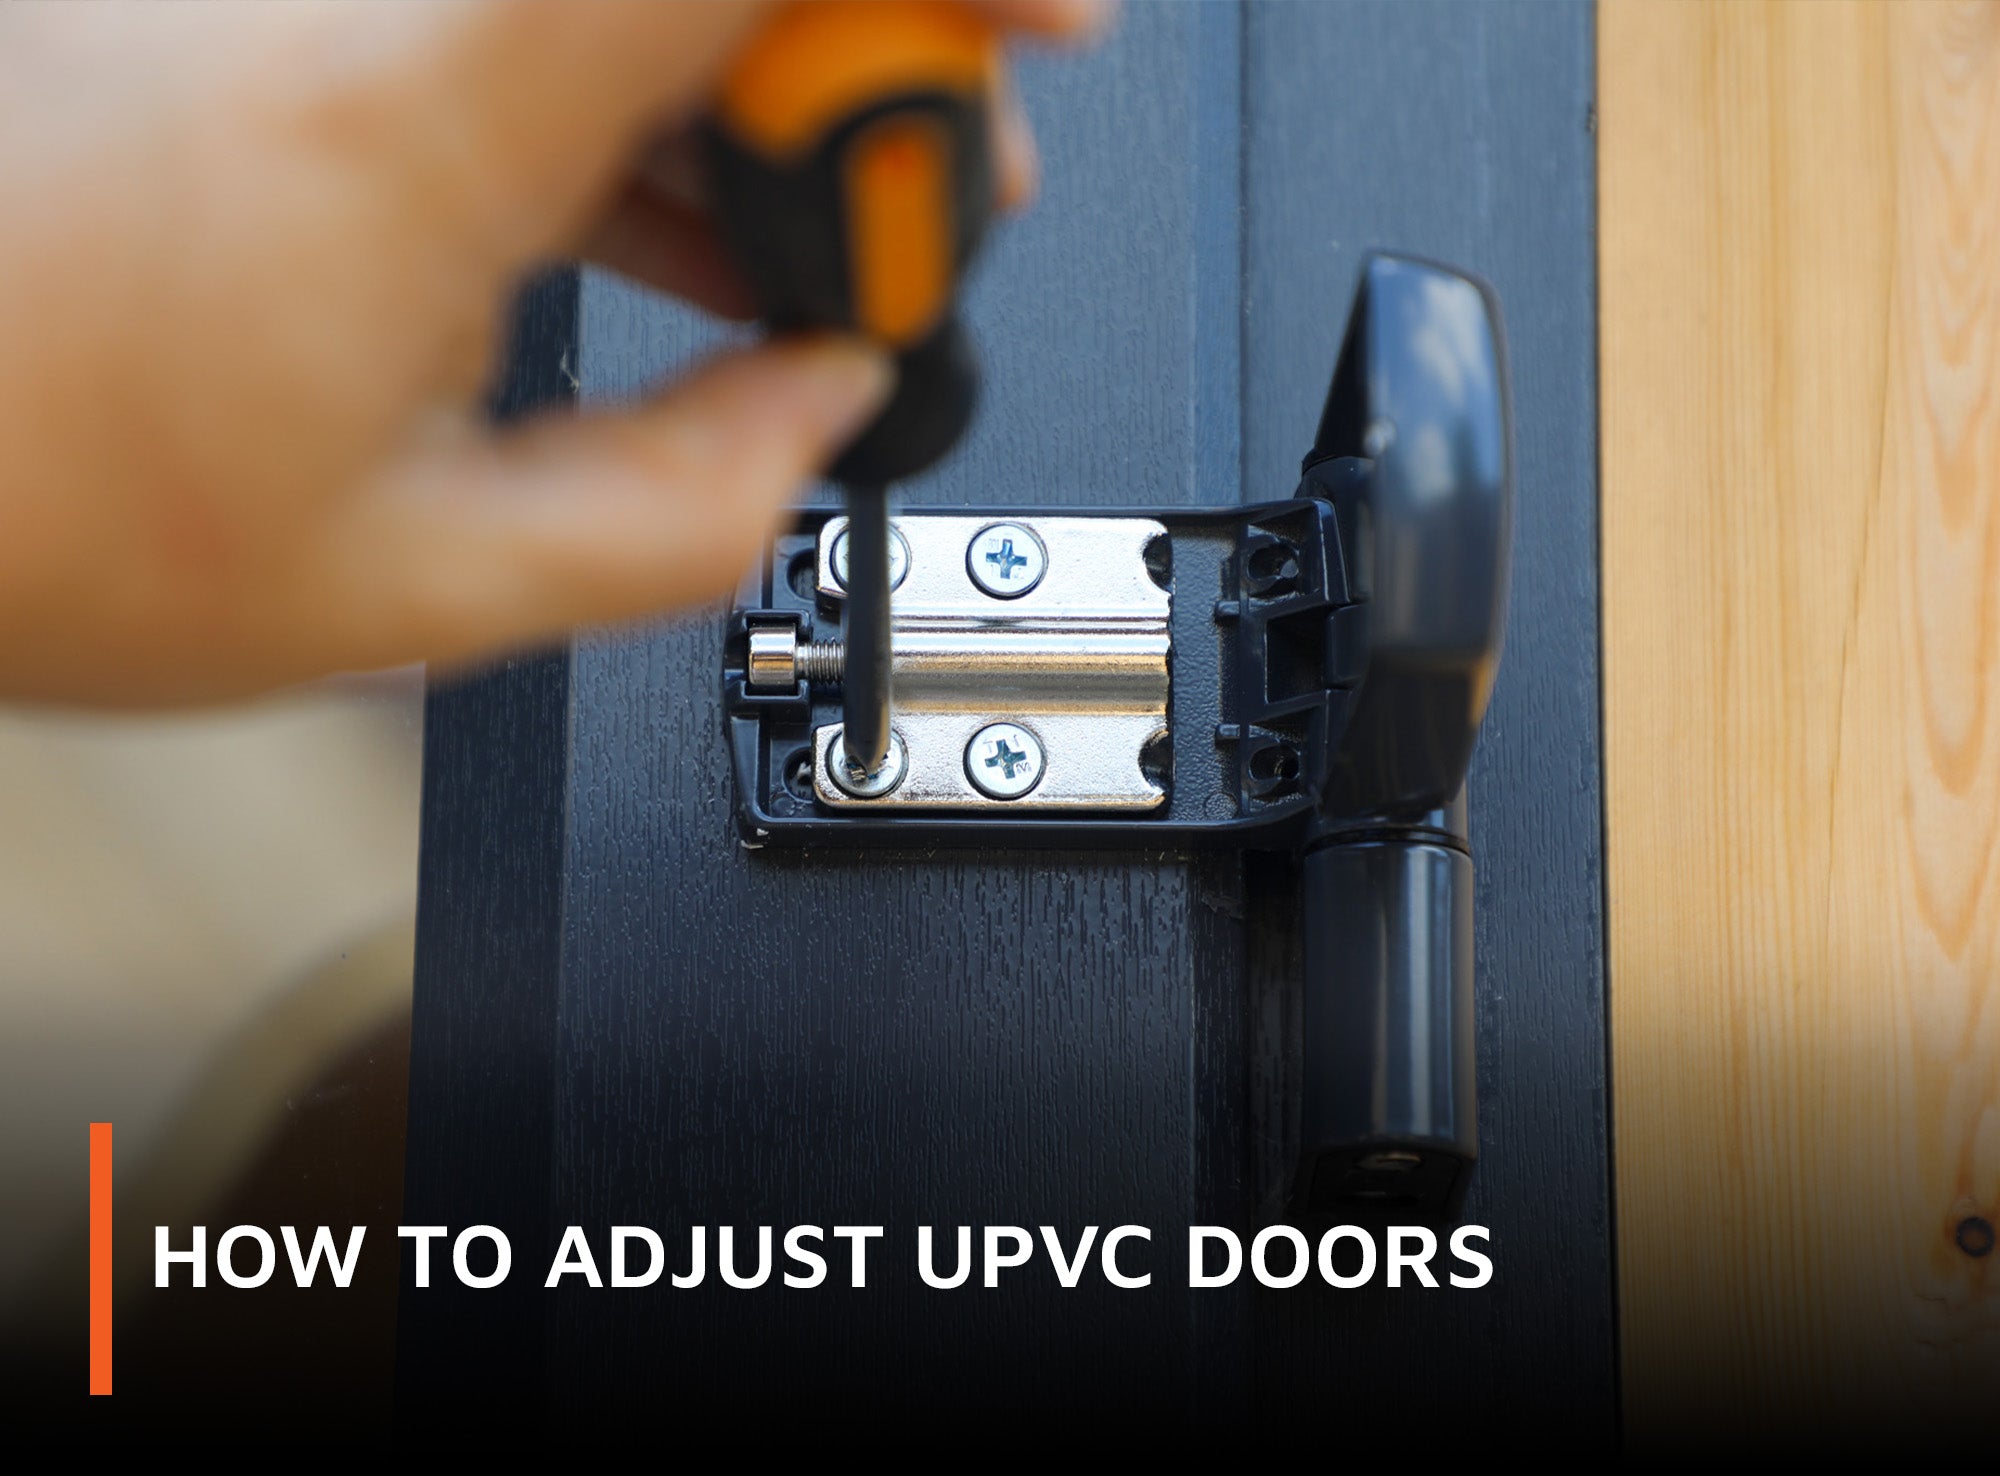
Flag UPVC hinges are essential for maintaining the smooth operation and security of your doors. These hinges allow for adjustments in three dimensions: lateral (left/right), vertical (up/down), and compression (in/out), here’s a straightforward guide to help you adjust your flag hinges for optimal performance.
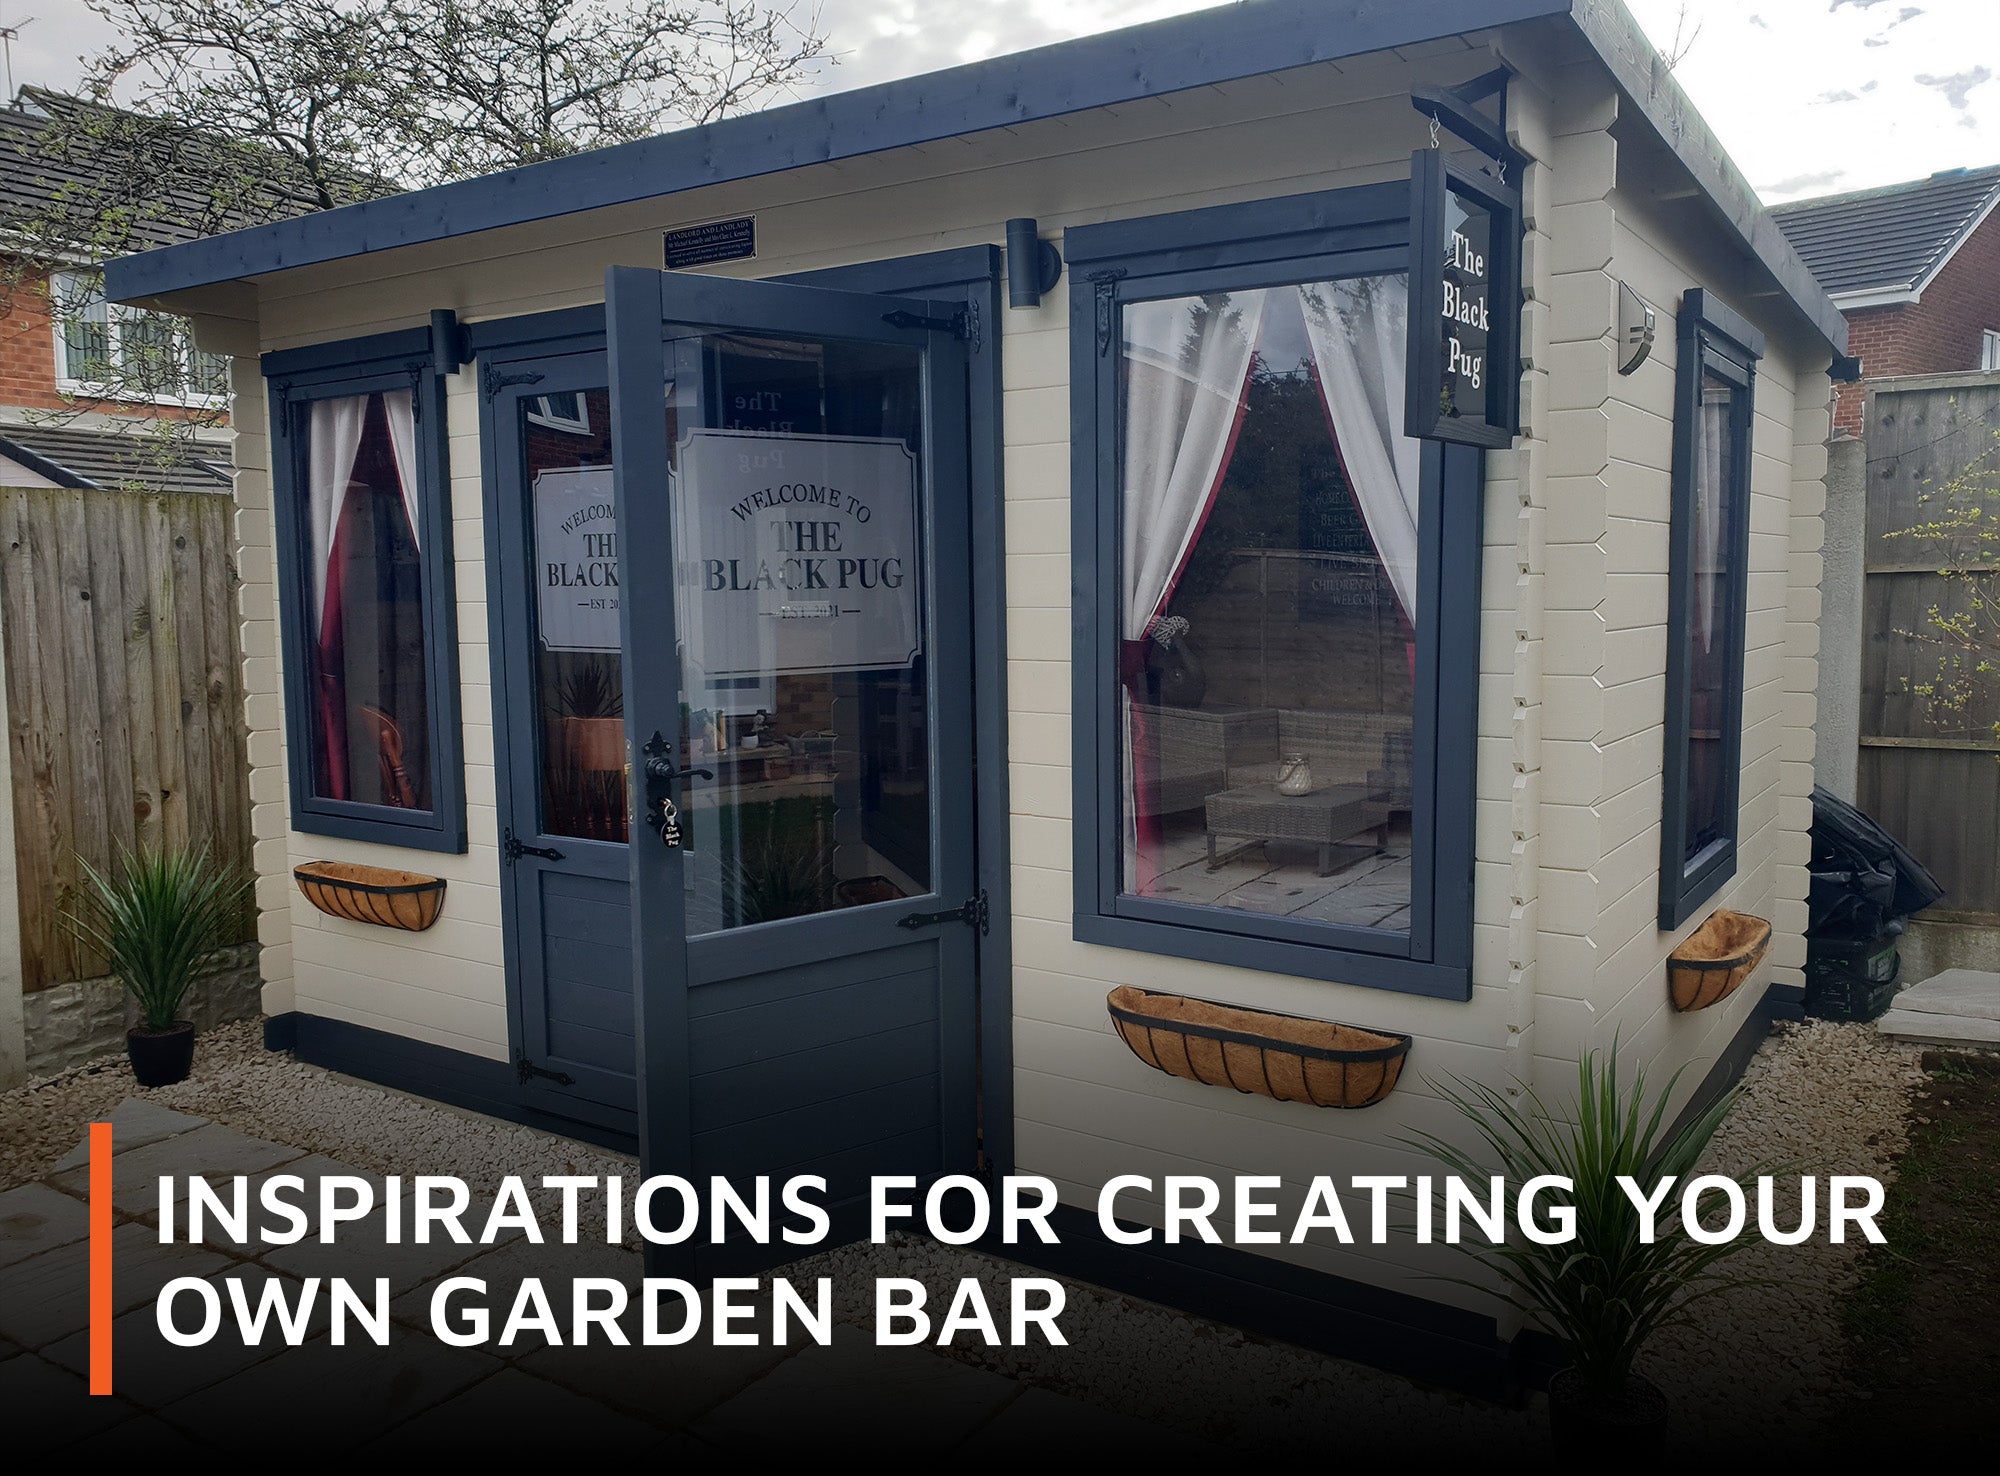
Inspirations for Creating your Own Garden Bar
Take inspiration from these creative Waltons’ customers who have turned their back yards into brilliant beer gardens and garden bars.
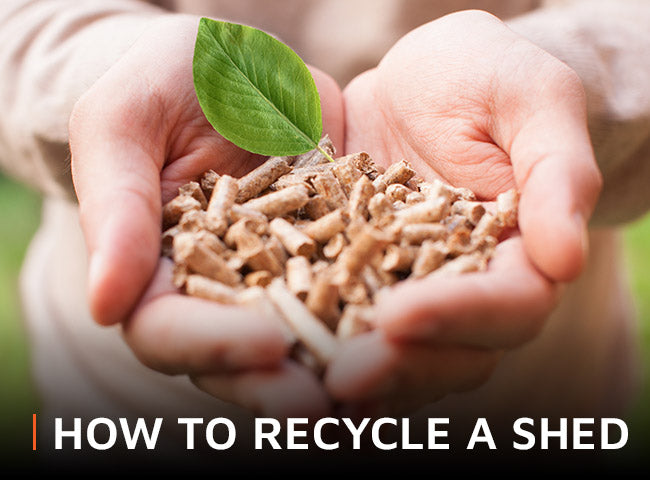
When you buy a new shed from Waltons, our delivery team can dispose of your old building so that you don't have to.
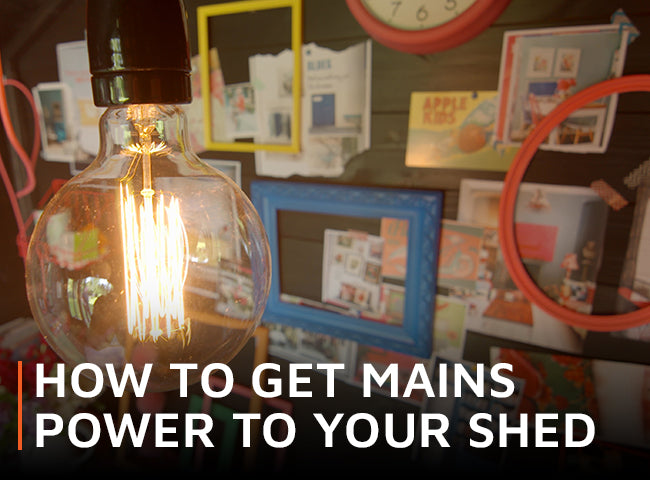
How to get mains power to your shed
We give you the lowdown on the whole process, from planning for your power needs, to choosing an electrician, helping out with the installation, and keeping the job on track.

How to fix a broken shiplap panel
Even the best quality sheds can suffer from damage and neglect. But the beauty of a shiplap timber building is how easy it is to repair. Here's our step-by-step guide to replacing damaged shiplap boards. All you need to get...
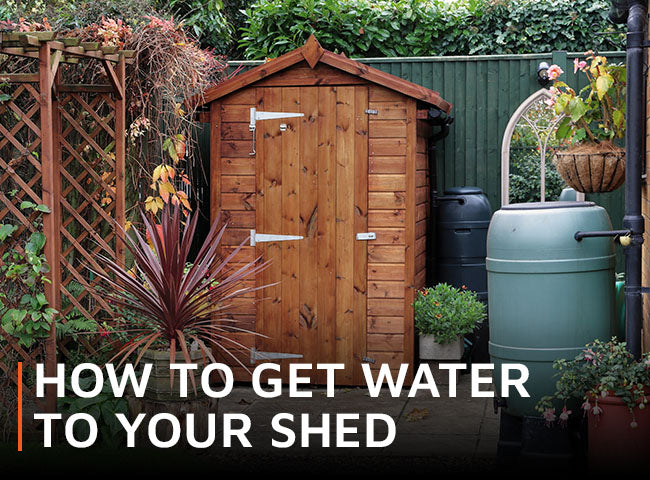
Here we take a look at on and off-grid options for both water supply and drainage. From water butts to digging trenches for your mains supply, we give you all the info you need to get you started.
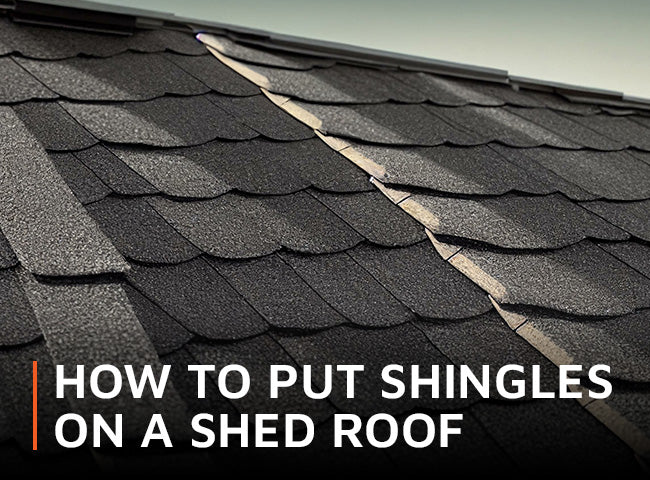
How to put shingles on a shed roof
This quick guide and video tutorial shows you how to lay shingles onto an apex roof, but you can cover any flat or pent shed roof in less than a day, using the same techniques.
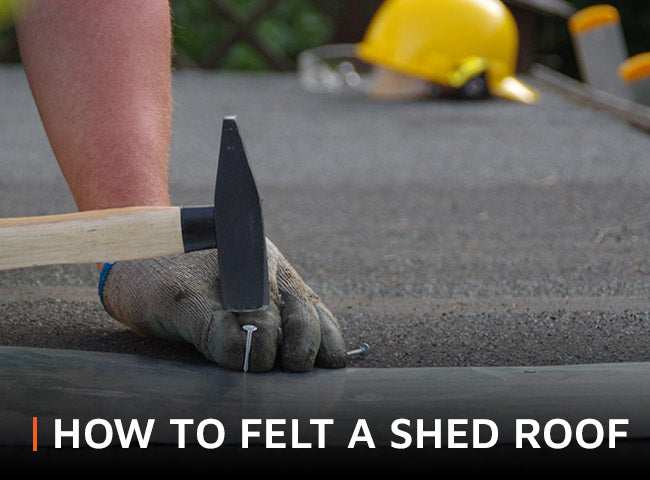
Does your shed's roofing felt need replacing? Fitting a felt roof is easy when you know how. All you need is a ladder, a few basic tools, and this free guide and video tutorial.