

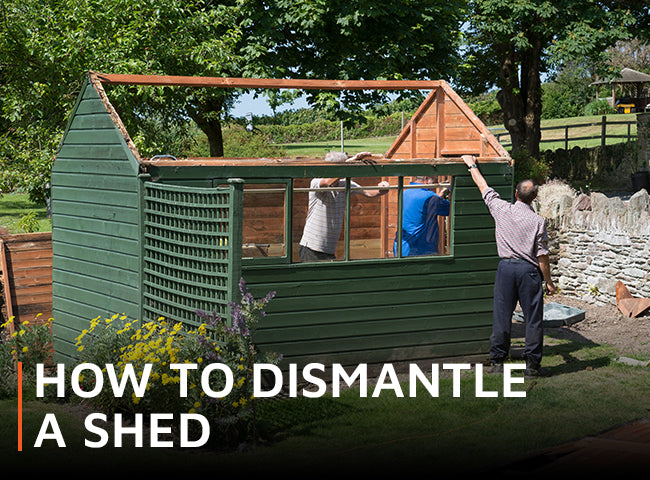
Wondering about the best way to dismantle your old shed? The safest method is start at the top and work your way down, beginning with fascias and trims.
To help get you started, here's our guide to dismantling your shed. By following our instructions, you'll find removing your old shed is an easy job for two people using basic hand tools.
- Remove the fascia boards, finials and corner trims
- Take the doors and windows off
- Untack roofing felt, then remove the roof boards
- Take roof framing and braces off
- Unscrew the shed from the floor
- Unscrew the corners of the shed walls and remove
- Stack everything neatly!
You’ll need:
- Flat headed screwdriver or other prising tool for the roof felt
- Electric screwdriver (this’ll speed things up)
- Gloves
- Two people
Remove fascias and trims

Unscrew the screws holding the finials, fascias and corner trims to your shed. This won't affect the structural integrity of the shed at all - these are just details that help to protect the timbers from the elements, and improve the appearance of your shed.
Take off doors and windows

Remove the doors by unscrewing the hinge mounts from the shed body. When they’re off the body of the shed, take off all the metalwork - hinges, locks, catches and so on.
Unscrew the frames from the windows (if you have them) and carefully remove the panes. Styrene’s pretty safe to work with, but if your windows are glass, this is the time to take particular care.
Remove the roof

Using your flat headed screwdriver, prise out the tacks from your roofing felt, and dispose of this (you won’t be able to re-use this). When the roof boards are exposed, unscrew the screws and slide them off the frame.
This is where it’s really handy to have a second person - the roof boards can easily move and slip around once you start taking off the screws that hold it down.
Take out the roof brace

Unscrew the L-brackets that hold the roof brace to the sides of the shed. It’s at this point that things might start to get a bit wobbly, so do take care as you move around. Don’t lean on any wall or surface; it may well not hold your weight now.
Detach the frame from the floor

Carefully work your way around the floor, removing all the screws that hold your shed to the base. Remember to keep your weight away from the walls!
Unscrew the frame corners

Working one corner at a time, remove the screws from the corners where the panels meet. Start with the front gable and work your way around. Once each panel becomes free, make sure you place it safely out of the way so you’ve got enough room to carry on working.
Tidy up

Lastly, make sure you’ve left everything tidy with no debris that can hurt children or pets. Stack panels securely, and safely dispose of old felt, window panes and metalwork (including any screws or nails).
Check out how the Waltons crew take down a shed in this video:
Looking for any other shed know-how? Just check out our How-to guides and you'll be sure to find some help and inspiration.
Lead image: aloiswohlfahrt/pixabay
