

My urban garden makeover
Discover how Gemma, 29 from Nottingham transformed her unloved concrete space into a bright, relaxing, urban retreat.
Gemma and Mike both work full time and run their own printing business, so doing up their garden was at the bottom of their priority list. They craved an outdoor space where they could spend time soaking up the sun and relaxing in the evenings and in March the couple decided to give their garden the TLC it needed.

The Challenge Urban Garden Makeover Ideas
The plan
“Our garden was missing privacy and colour so we knew that one of the first things we would do was to add fencing to top off the low wall. After that we thought about building something to cover up the unsightly bins and add planters and climbers to enable us to grow fresh herbs and nice bright flowers.
“ We knew we would be doing all of the work ourselves due to having a fairly small budget, however we have found that we have enjoyed doing it ourselves because you get a great sense of achievement when you see it all coming together.”
Gemma's top tips for planning a garden makeover
“Don’t bite off more than you can chew, write down exactly what you want from your garden and have a browse around to see what you will need and how much it will cost.
“Timing is also important, we began the project over the April Bank Holiday and have spent most weekends since out in the garden, you can’t expect to get a full project done in one weekend, unless you have lots of help of course.”
The Project
Step 1 – The Big Tidy Up
The first day we spent clearing the garden of all the rubbish and made a pile of bits and bobs to salvage. I think we ended up doing at least four tip runs!
"Once we had cleared the garden we were able to see actually how much space we had and were able to visualise where things would go like the planters, the bid tidy and the garden furniture.”

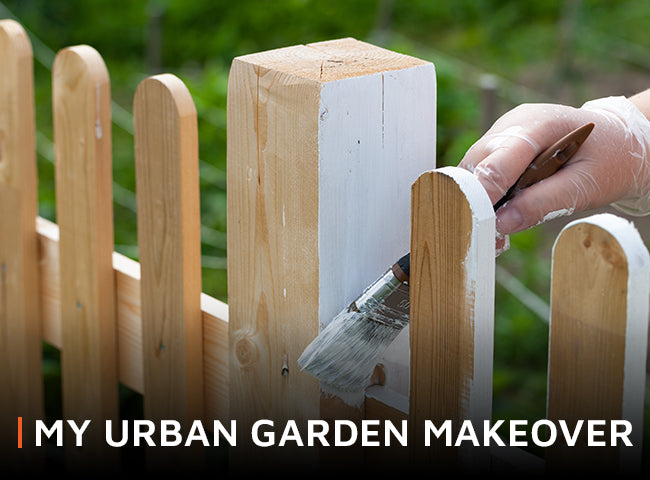
The Great Divide: Garden fencing to increase privacy
Step 2 – The Great Divide
“The next thing we did was to get the fence panels for the wall, we wanted something that we could attach planters and climbers too so we want for a grid-style fence panel.”
“It took about a day to install the fence panels and we did it whilst it was pouring down with rain which made it a little difficult to do.
“After installing the fencing we treated it with wood preservative in a slate blue colour. We love the colour and think it will look great with some contrasting pink and yellow plants against it.”
Gemma’s top tips for installing garden fencing: Measure your space accurately and don’t forget to factor in posts and anchors to your costing.
"Another tip is to order it online as most cars won’t be big enough to take it home, something that we learnt the hard way when having to strap it into my car with the boot open.”
Tools that Gemma and Mike used to install the fence panels:
SDS drill – a drill designed for concrete
Spirit level
Gloves
Fence panels
Fence Posts
Metal post anchors
Step 3 – Power clean
“Next, we borrowed a pressure washer and cleaned down the concrete – you won't believe the difference it makes and it is so easy to do. The floor looks brand new again.”
“We’re still considering covering the concrete however we still need somewhere for the dogs to be able to do their business so we'll have to look at creating separate areas, for now we'll leave it how it is.”

Build a bin tidy and screen for urban garden
Step 4 – Build it
“We wanted something to hide our wheelie bins so Mike had a genius idea to create a bin tidy out of some spare fence posts, spare wood and bamboo screening. It was so easy to do and it has become its own feature in the garden.”
Step 5 – The finishing touches

“To finish off the garden we bought a few hanging baskets and hung planters on the fence and walls for herbs and other plants. We also invested in some new garden furniture and built a new table out of some re-cycled wood.
My favourite new addition is the pizza oven which we got for a bargain, I suspect all through the summer we will be having pizzas for most meals! We added some fairy lights for the evening and plan on adding solar lights to for added ambiance.”

"We love the finished project, it is no longer the damp and dreary outdoor space. It's now our garden where we spend time together in the evenings and soak up the sun at weekends. Frank and Alice are starting to get used to it too!"
Are you planning a garden makeover? Send us your project pics either via email to websales@waltons.co.uk or via our social media channels. Facebook, Twitter, Google +, Pinterest, Instagram.

My Garden Makeover by Waltons Web Ltd is licensed under a Creative Commons Attribution-NonCommercial-ShareAlike 4.0 International License.
Based on a work at /.
