Good preparation is the key to laying a paving slab shed base. Get your measurements right, create a level site for your paving slabs, and always use quality materials.
From marking out to finishing touches, here’s our comprehensive guide to building a patio slab base for your shed.
At a glance:
- Measure and mark out the site for your patio base
- Get digging – 10cm plus 2.5 cm for your slab mortar, plus the thickness of your slabs
- Add your hardcore
- Practise-lay your slabs, then remove them and apply mortar
- Lay your slabs, levelling as you go
- Fill in the gaps with sand or mortar
You will need:
- tape measure
- string
- builder's set square
- stakes
- spirit level
- digging spade
- rubber mallet
- slab spacers
- hardcore rubble
- earth rammer
- slabfix mortar
- paving slabs
Sturdier and longer lasting than a wooden shed base but less permanent than a poured concrete base, a paving slab shed base is attractive and gives your garden building the solid foundation it needs. Here’s how to lay a patio shed base.
Step 1: Measure up
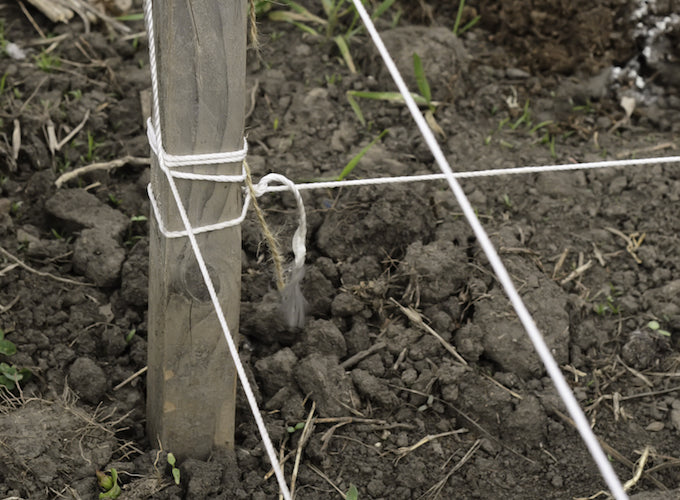
Image: Shutterstock
Decide where in your garden you want to build your shed. Bear in mind that your measurements must allow for the gaps between the slabs, and that when your shed is in position, there needs to be adequate space all around it to enable you to apply wood treatment each year. Place a stake at one corner of your proposed site, then using your tape measure and string mark out the rest of the square or oblong. Using your set square, check that each corner is a perfect right angle. Check the diagonals – if they measure the same length, you’ve got it right.
Step 2: Get digging
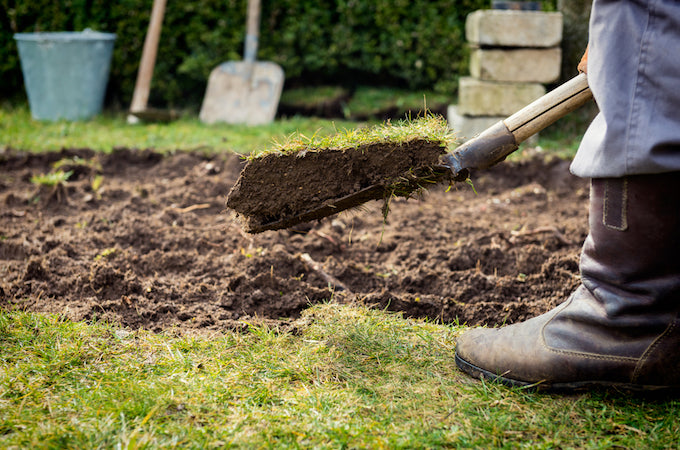
Image: Shutterstock
Remove the turf and get busy digging. If your garden slopes, you’ll have to dig out more material from the higher side of the site so that when it’s level, the hole at the lowest-lying side will be deep enough to take the foundation. Remove enough material to allow for 10cm hardcore, 2.5cm slabfix mortar and the depth of the patio slab. Remember that any soil you remove will bulk. Work out how much material your digging will excavate and consider hiring in a skip to take it away. Only start when you’ve figured out what you’re going to do with the waste earth – a spoil heap doesn’t make a great garden feature.
If drainage is an issue, stop the runoff from your shed pooling on the ground by building a French drain at the lower side of the site. Simply dig a deeper trench, angling away from the site of your patio slab base, and later, fill with hardcore and chippings.
Step 3: Add your hardcore
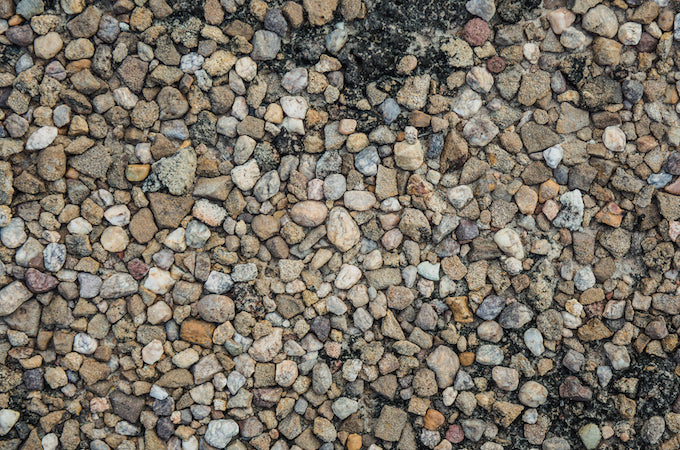
Image: Shutterstock
Lay your hardcore and rake it level before tamping it down with an earth rammer. It’s vital to make sure your site is level, so keep checking with your spirit level until you’re happy that you’ve achieved a flat surface. A level base stops your shed distorting which ensures windows and doors fit as they should, and helps the shed to last longer by eliminating stress points. Compacting hardcore is a strenuous job, but do it right and you’ll reap the benefits for years to come.
Step 4: Take a practice run
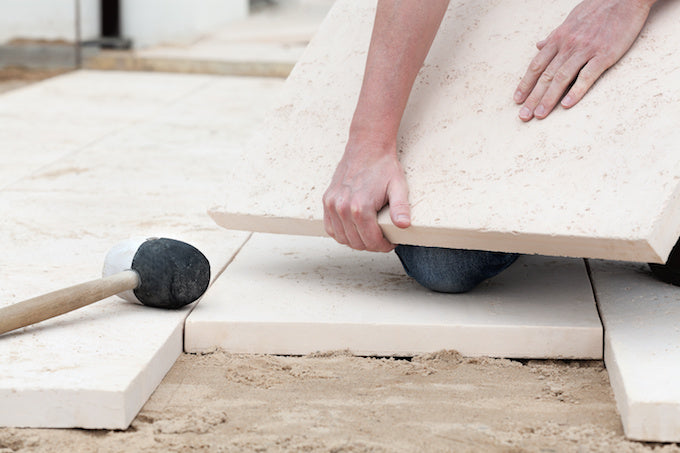
Image: Shutterstock
If you’ve measured your site correctly, there should be no problem laying your slabs – but it never hurts to check. Set out the patio slabs, beginning at one corner. Use slab spacers or offcuts of ply to create uniform gaps between each slab. When you’re happy with the layout and look of your base, remove the slabs and stack them to one side. Now add 2.5cm of slabfix mortar. Rake it, check for level, sprinkle with water from a can, rake once more and recheck with your spirit level.
Step 5: Lay your slabs
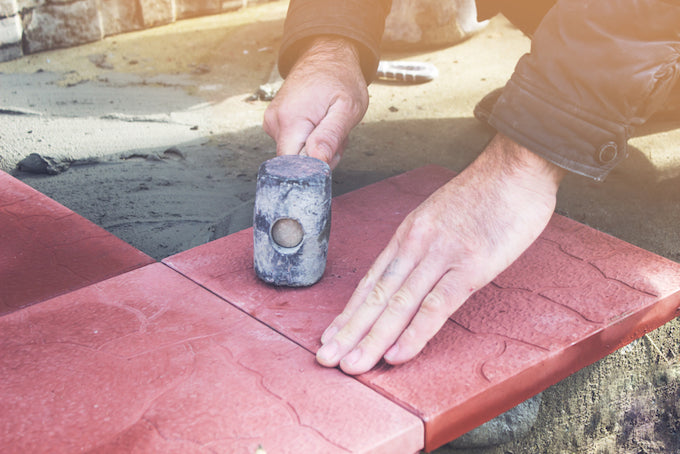
Image: Shutterstock
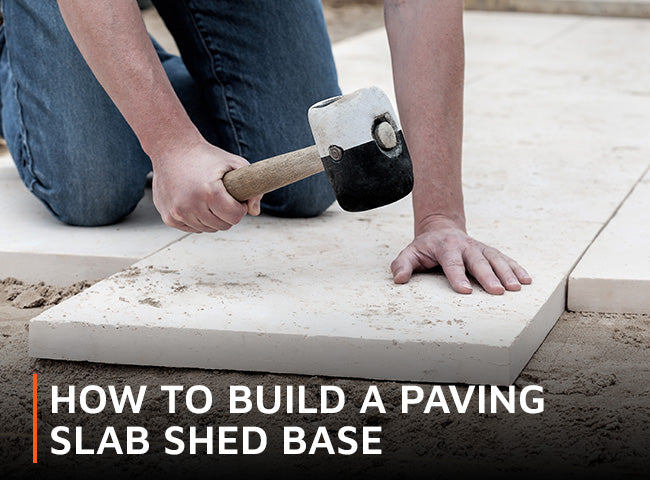
Repeat the process of laying your patio beginning in one corner like you did before. Bed in each slab by tapping it with your rubber mallet, checking with your spirit level and inserting spacers before moving onto the next patio slab.
Step 6: Fill in the gaps
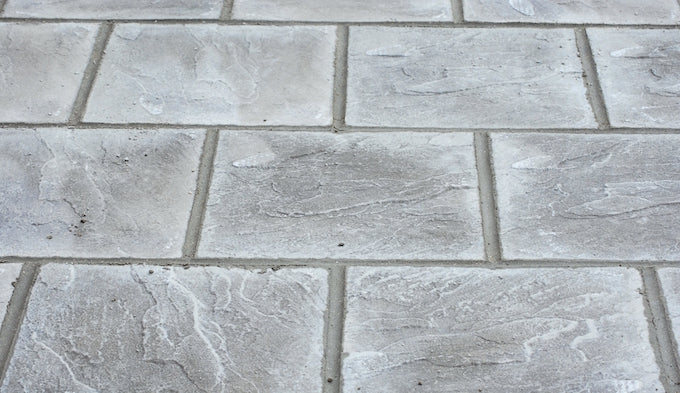
Image: Shutterstock
Allow your paving stone base to dry for at least 48 hours before removing your spacers. To prevent water penetration and weed growth, use either sand or dry mortar to fill the gaps between the slabs. Use a pointing trowel to compact the material so that it doesn’t just get washed away in the rain. Sweep away excess material then wet your patio down with a watering can. Your shed base is ready!
The beauty of a paving slab shed base is that it offers the option of adding a patio walkway right around the building – all you have to do is build a bigger base. And because there’s such a wide range of patio slabs to choose from, a paving slab shed base is a functional and attractive way to give your shed a solid foundation.


Share:
How to decorate your shed
How to build a concrete shed base