


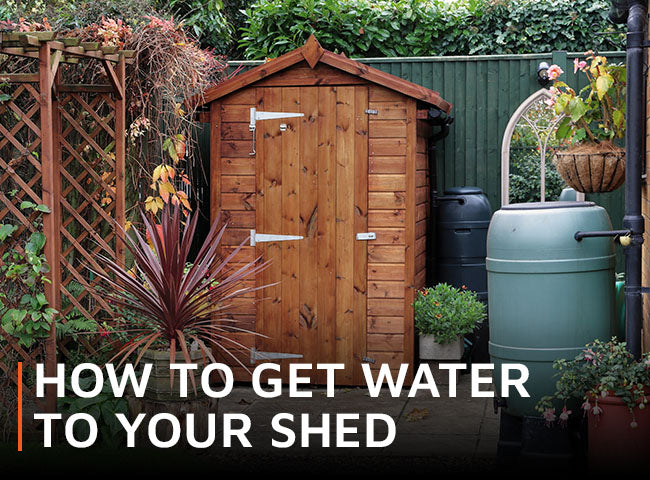
If you'd like to get water to your garden shed so you can wash off your dirty tools, indulge your hobbies, make the space usable as an office – or anything else, this guide is for you.
Here we take a look at on and off-grid options for both water supply and drainage. From water butts to digging trenches for your mains supply, we give you all the info you need to get you started.
At a glance:
- Decide on the type of water supply you need
- Dig a trench and lay a water pipe
- Choose an appropriate drainage solution
- Connect an electrical supply if required
1. Decide on the type of water supply you need
First, decide on the type of water supply you need. Do you really need to be connected to the mains? Do you need hot water - say, for a shower, or for guest accommodation - or will just cold do? Remember that if you have a cold supply only, and need a water heater, you will also need an electricity supply.
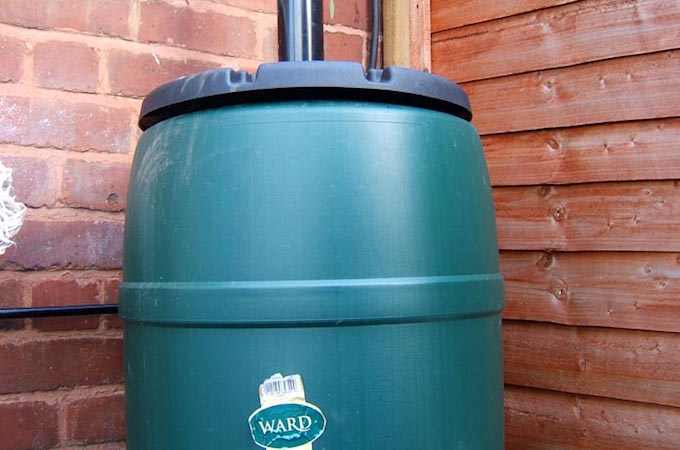
Connecting to the mains isn’t always necessary - sometimes a water butt will do. If you just need non-drinking water, but don’t want the cost and hassle of plumbing, simple guttering and a water butt is a good option, and easy to install. You can get a water butt kit complete with a base, tap assembly, downpipe diverter and gutters included.
If you decide you do need to connect your shed to mains water and electricity supplies, follow the steps below. Or, skip over the following step, and look at the off-grid solutions for drainage and electricity.
2. Dig a trench and lay a water pipe

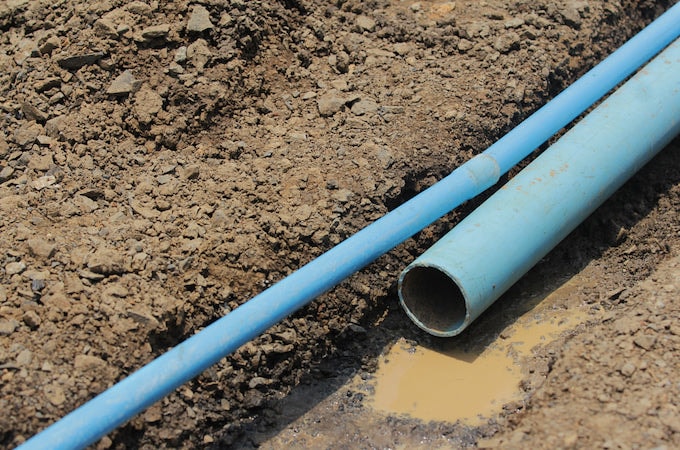
You can dig the trench yourself - but get some advice from a plumber first. Your new pipe must be at least 350mm away from any services, so be aware of gas, electricity, cable TV etc., and locate them first. You don’t want to cut through any of these! Your pipes need to be installed below the frost line - which means a minimum depth of 750mm.
Before laying your new pipe, line the bottom of the trench with some builder’s sand. This provides a soft base for your pipe and covers any sharp stones that could damage it. 25mm blue plastic pipe is typically used, and is available from your local DIY store. Where pipes surface, they need to be properly insulated from the cold.
Connecting up the pipes at either end is a job for your plumber!
3. Choose an appropriate drainage solution
If your shed is near enough to your house to make connection to mains drainage possible, this is the best and most permanent solution - especially if you use a lot of water or are installing a bathroom.
Your waste water pipe can run in the same trench as the water supply pipe. The most common drainage pipe sizes are 110mm and 160mm - but your plumber can advise, depending on your needs. Be aware that, if your shed is located below the level of the existing drains, you will need a domestic pumping station - which will require a power supply.
Off-grid solutions
There are alternatives to mains drainage. A septic tank is the next best thing, but is expensive, and only worth considering if you really can’t connect to the mains and you want to plumb in a bathroom.
If you don’t use that much water, a simpler solution is a soakaway. This can be a component of a septic tank system but, at its simplest, a soakaway is a hole dug into the ground, filled with rubble and coarse stone which allows surface water to percolate back into the earth.
Be aware that a soakaway won’t work in heavily clay soil. Test the ground first, with a percolation test. This involves digging a test pit to the dimensions of your soakaway, and flooding it. The test has failed if it takes longer than six hours for the water to drain away.
One solution, popular in Finland, is to use an oil drum. Rust-proof your oil drum by painting it with antirust paint, and put lots of small holes in it, three-quarters of the way up. Then fill it three-quarters full with sawdust. Lower the oil drum into a hole, and discharge your waste water into it. After a year or two, bring it up, burn the contents, and start again.
Note that you cannot use a soakaway to discharge effluent in the UK, without upgrading to a drainage field or applying for a permit. Find more guidance from the Environment Agency, which also has rules on where you can site septic tank systems and soakaways.
4. Connect an electrical supply if required

We all know that water and electricity don’t mix. But if you’ll be running a water heater or an electric shower, you will need a power supply. These appliances can require over 10kW. Think about what you want to use your shed for, and check with a qualified electrician that adequate power can be supplied to your garden building at the outset.
You can power your shed by running a cable from your home, but this MUST be done by an accredited electrician. You’ll also need to notify your local building control office, and comply with building regulations. Your electrician can deal with issues such as the gauge of cable needed, where to place circuit breakers, separate metering if you need it, and more.
Off-grid solutions
Alternatively, go eco-friendly and generate your own electricity. This is realistic if you just want to power an occasional light or your laptop. It will also save you money in the long-run. The two main options are solar or wind. Both will store energy in a battery, from which you can power your appliances.
Solar panels can be attached to your shed roof. Work out how much power you need, as this will determine the system you install. If you live in a windy location, a wind turbine can be a good source of power - either roof or pole mounted. Use solar and wind in combination for the best of both worlds. You may still want to connect to your mains supply as back-up.
Connecting a water supply to your shed is relatively straightforward, but this is one area where you will need to call in the professionals, not only for advice before you start, but also to undertake at least part of the work involved.
Once connected, you’ll have the freedom to use your shed all day as a garden office, art studio or hobby room; or even as a guest room or pool house. Enjoy this watershed moment!
Disclaimer: This article is for guidance only, and does not constitute professional advice. Always consult with a registered competent person before undertaking any work of this kind.
Image: CHOKCHAI POOMICHAIYA/Shutterstock
Share:
How to put shingles on a shed roof
How to fix a broken shiplap panel