


With a lifespan of around eight years, felt roofing shingles are a durable and affordable way to give your roof felt extra protection, making your shed roof last longer.
This quick guide and video tutorial shows you how to lay shingles onto an apex roof, but you can cover any flat or pent shed roof in less than a day, using the same techniques.
At a glance:
- Check your roof felt, repair any issues, and prepare
- Lay the starter strip, then continue over the roof, front to back
- Cover the apex if you have one
- Affix your fascia boards and finials
- Maintenance checks
You will need:
- Hammer
- Ladder
- Knife
- Clout nails
1. Check your roof felt

Image: Waltons
First check your roof felt for weathering or any other kind of damage. If there are any tears or holes, replace those strips. There's a handy guide to repairing your roof felt on the blog which will show you how.
Remove existing finials and fascia boards if you're not working on a new shed.
Make sure you’ve got all of your tools and materials to hand.
Lay out the shingles on the ground first, to get a clear understanding of how the pattern works, before you stick them to your shed.
2. Lay the starter strip, then continue along the roof, front to back
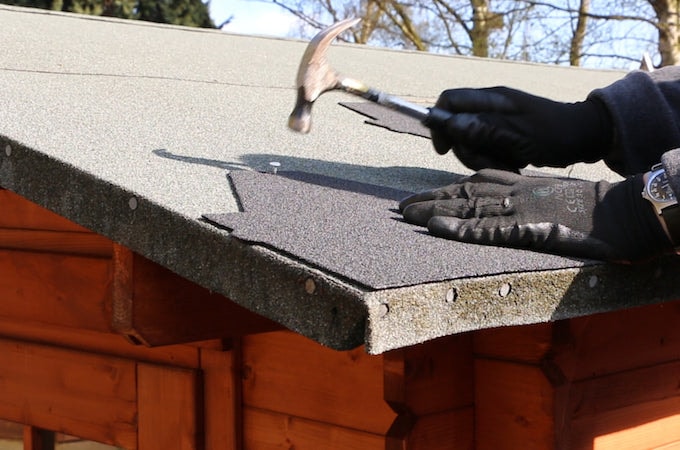
Image: Waltons
Lay a starter strip. Take your first strip of shingles, and point the hexagonal tabs towards the apex. Place the strip flush against the front, with the straight side along the edge of the roof. Remove the adhesive backing, and fix down with clout nails.
Finish the rest of the row in the same way. When you reach the back, there may be some excess. Trim this off with a knife.
For the next row, reverse the shingles and point the hexagonal tabs towarsds the roof edge. Position the shingles directly on top of the starter strip. Remove the adhesive backing, and fix down with nails.
If you've got your strip in the right position, the nails will go through both strips. Continue with the rest of the row, and carry on until that side of the roof is done.
Repeat for the other side.
3. Cover the apex
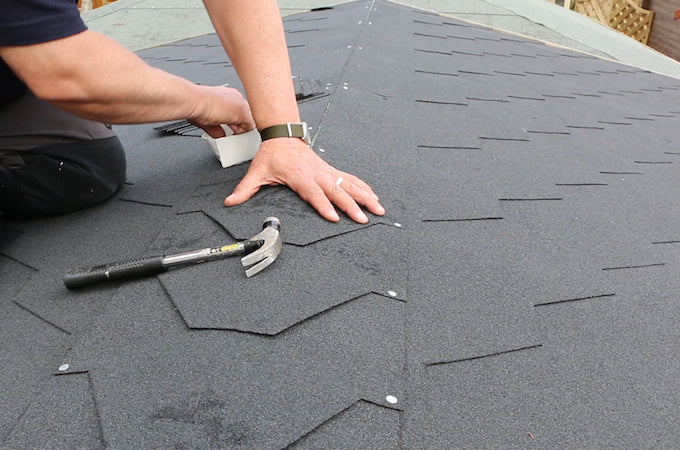
Image: Waltons
Start at the front of the roof, with the hexagonal tab of the first shingle facing towards the back, and fix down on both sides
Place the hexagonal tab of the next shingle and point it to the front, directly over the first shingle. Fix down.
Take the next tab, and overlap the shingle in front, and secure down. Repeat this process until you reach the back.
4. Affix fascia boards and finials
You can now affix (or re-affix) your fascias and finials.
5. Maintenance checks
Remember to check for signs of wear and weathering. Your shingles should last for up to eight years, when they should be replaced.
To watch shingle installation in action, just check out the video below.
Share:
How to felt a shed roof
How to get water to your shed