


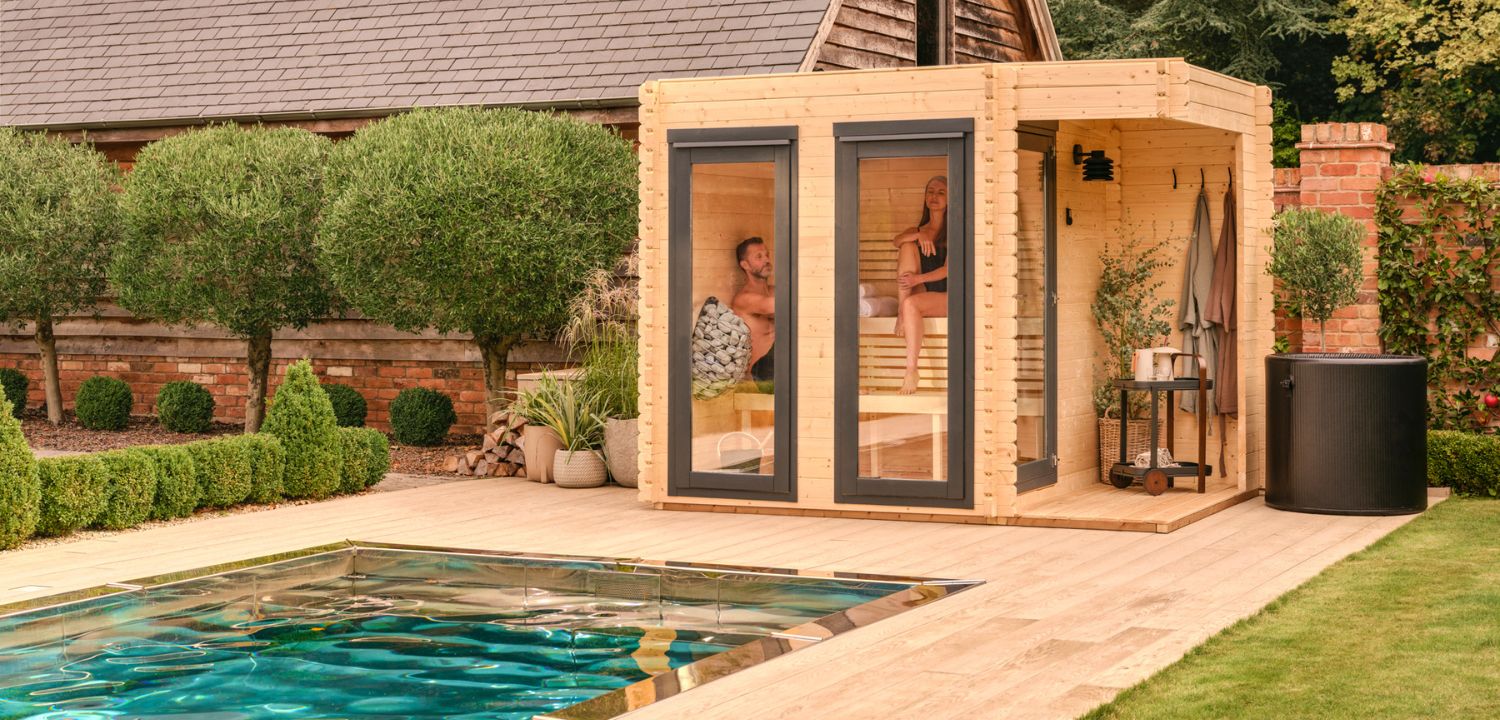
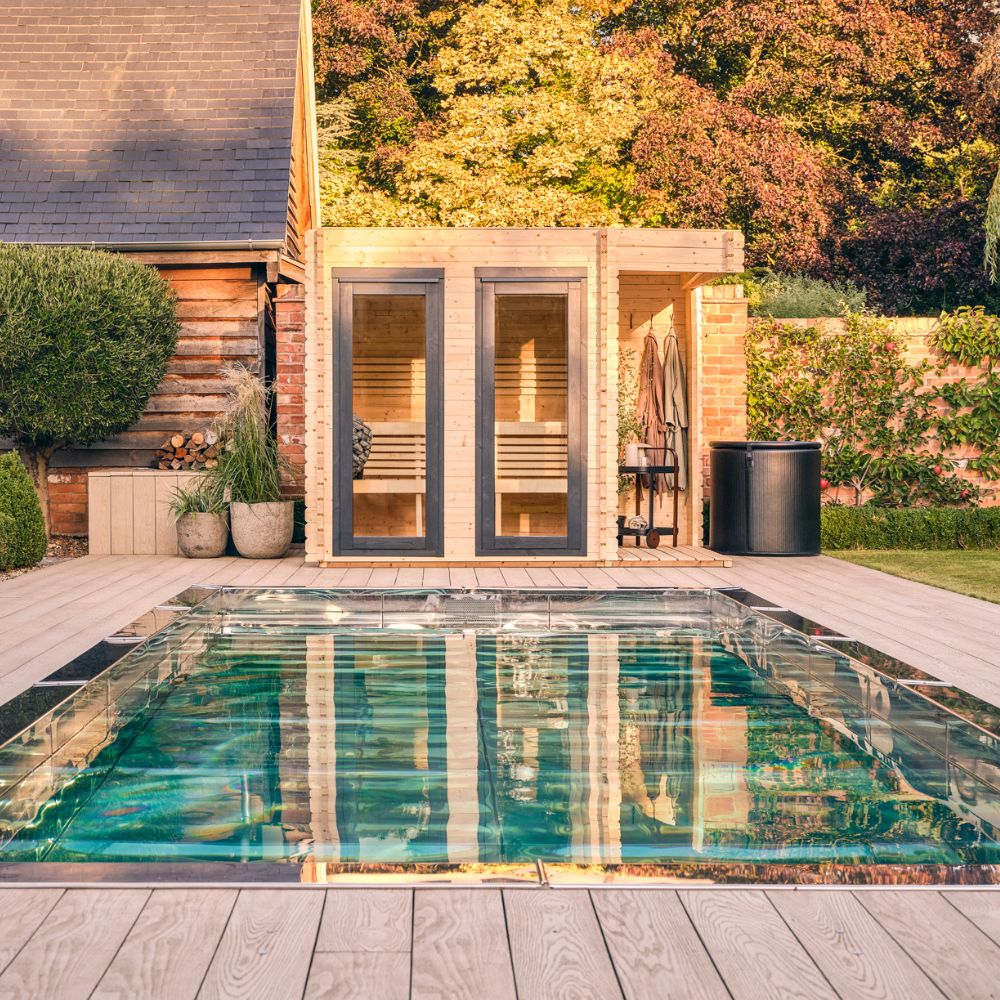
Choose the Right Location
Select a flat, stable surface with good drainage. Ideal spots include:
- A patio, deck, or concrete base
- Areas with easy access to electricity (if electric)
- Privacy from neighbors and wind exposure
Avoid placing your sauna directly on soil or grass — moisture can damage the base
over time, however we do provide a pressure treated foundation as standard with the
sauna.
Prepare a Solid Foundation
For stability and longevity:
- Use a concrete slab, paving slabs, or timber decking.
- Ensure it’s perfectly level.
- Leave space around the sauna for maintenance access.
Electrical & Ventilation Setup
-Electric saunas: Hire a qualified electrician for safe wiring.
- Wood-fired saunas: Ensure proper chimney clearance and airflow and hire a professional to certify/install the chimney chute.
- Maintain good ventilation for consistent heat and air quality.

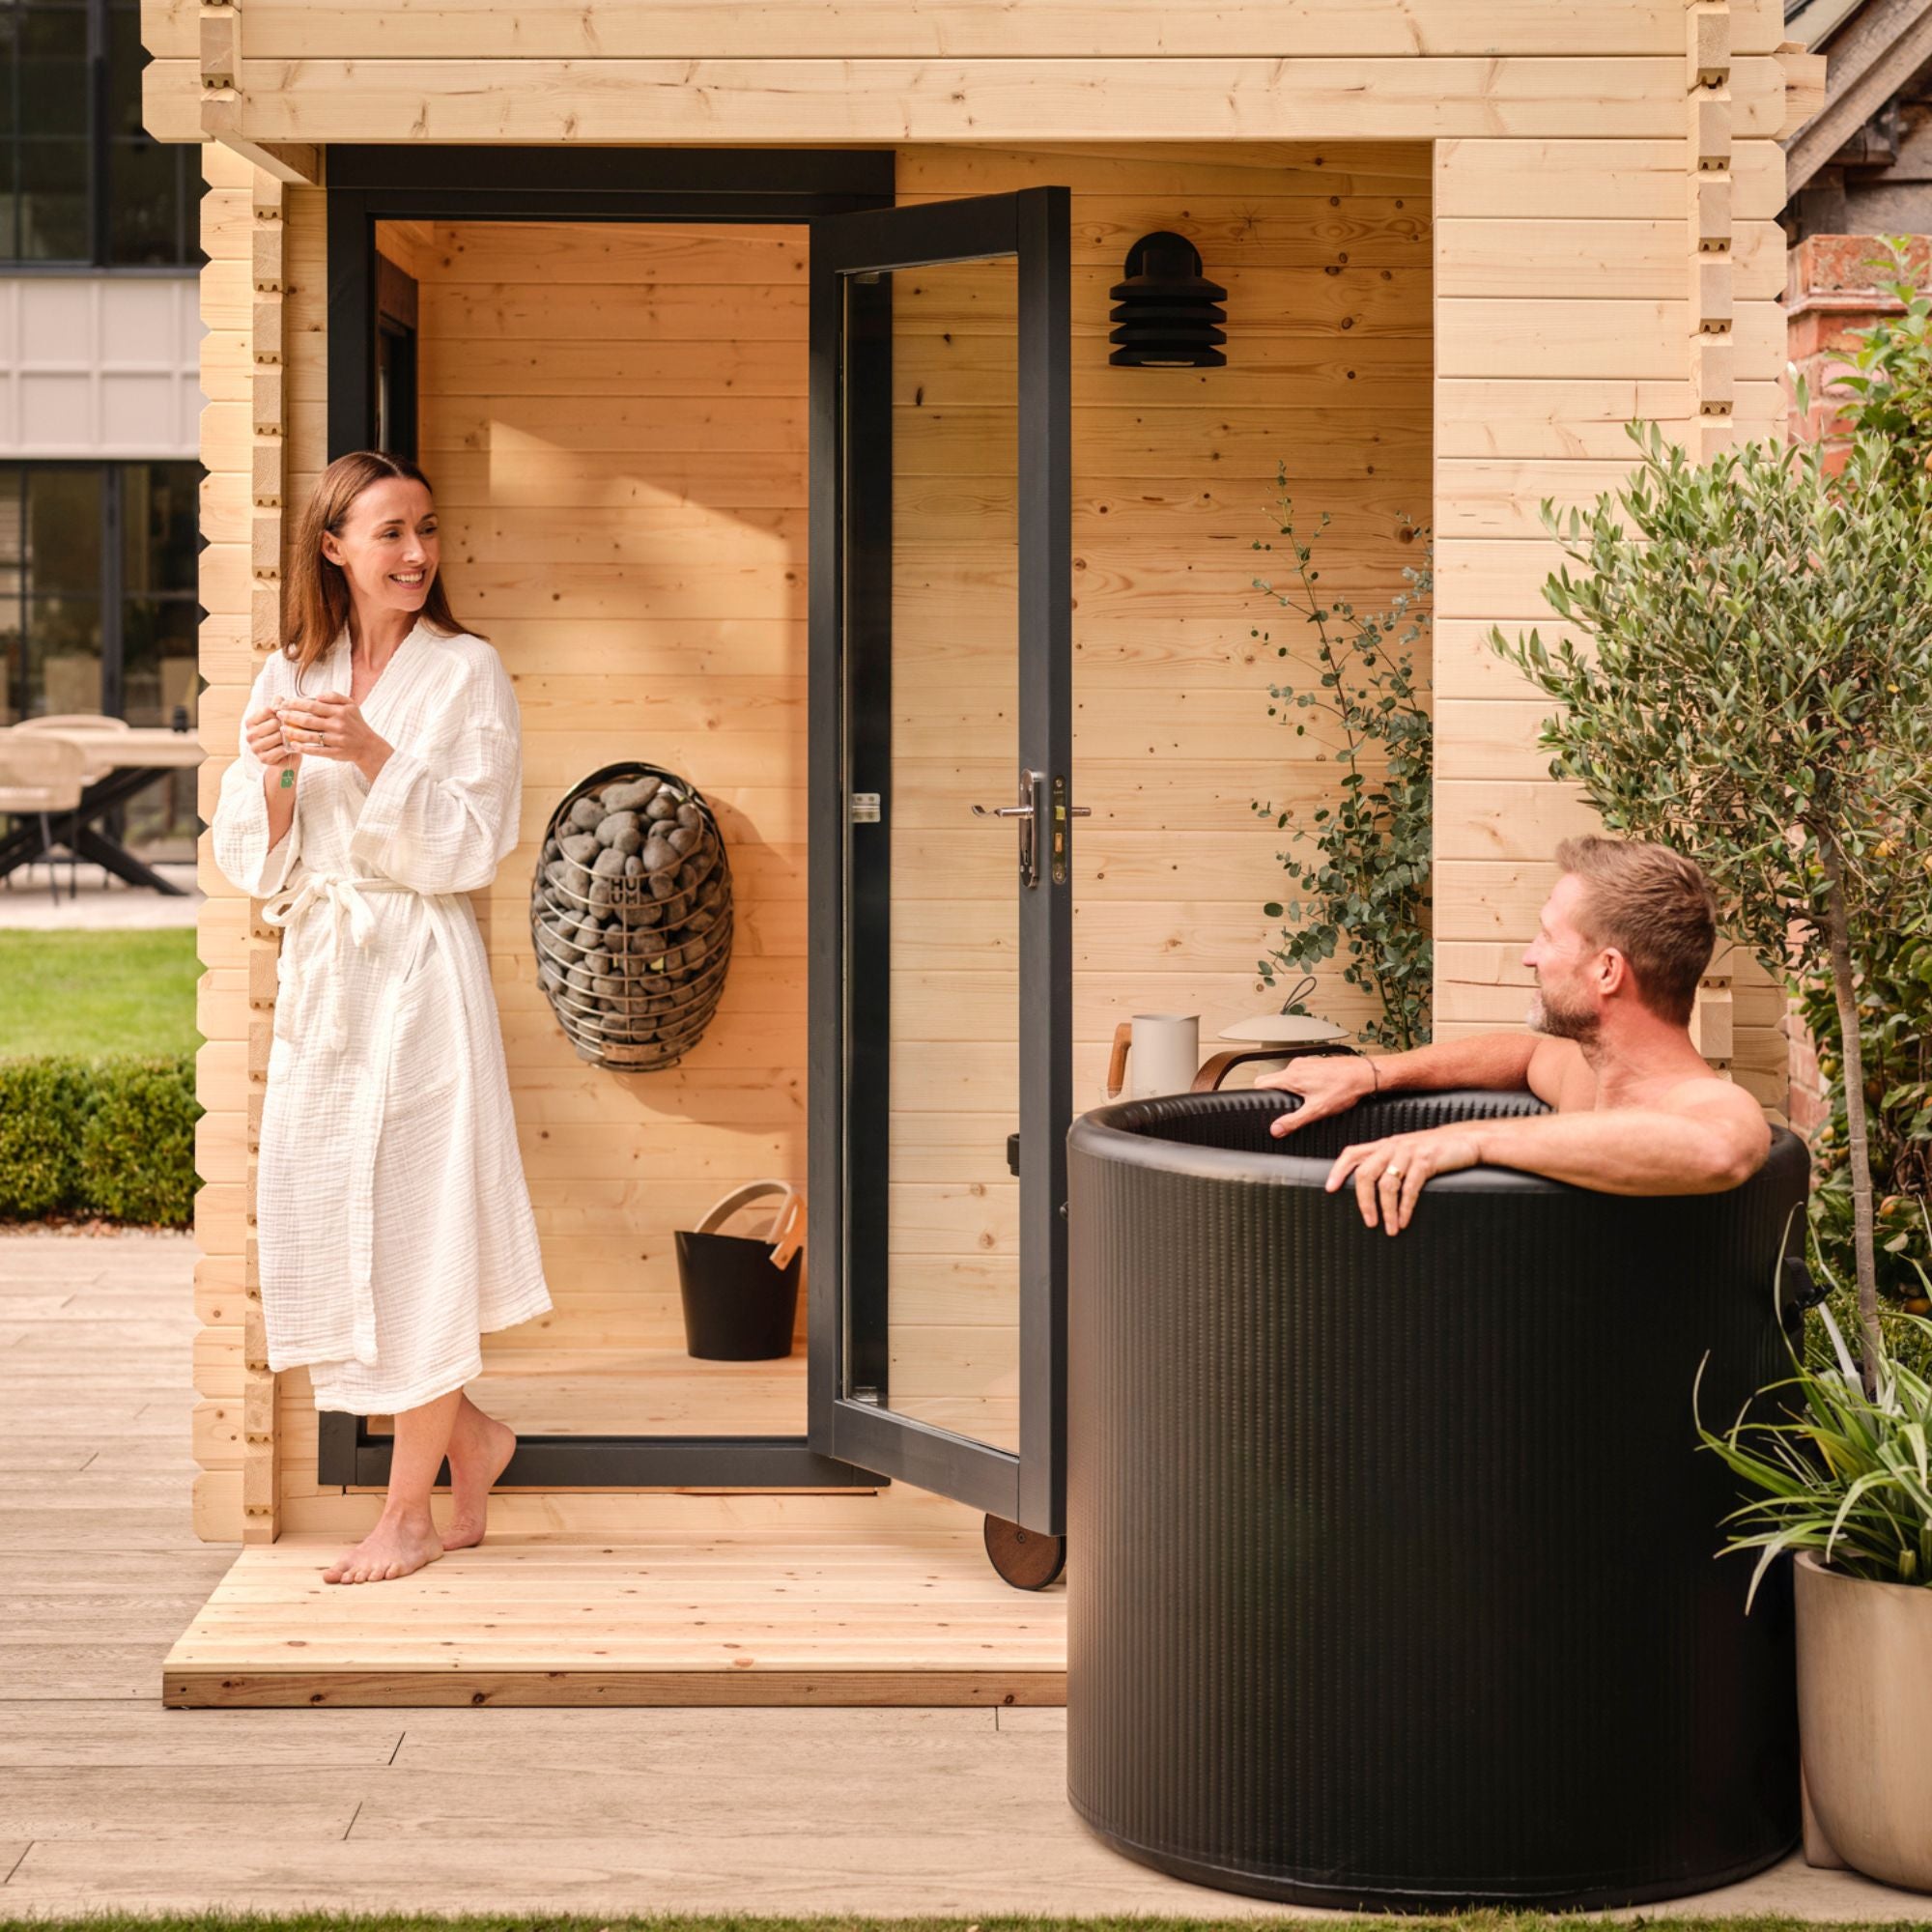
Assembly Tips
Our saunas come as notched log kits that can be assembled in a few hours with 2–3 people.
- Follow our detailed instruction manual step-by-step.
- Pre-treat exterior wood with weather protection oil.
- Seal joints and door frames against moisture ingress.
- Install accessories (lighting, benches, heater) last.

Aftercare & Maintenance
Keep your sauna in top condition:
- Wipe down benches and walls after use.
- Leave the door open after sessions to let moisture escape.
- Re-treat the exterior wood annually.
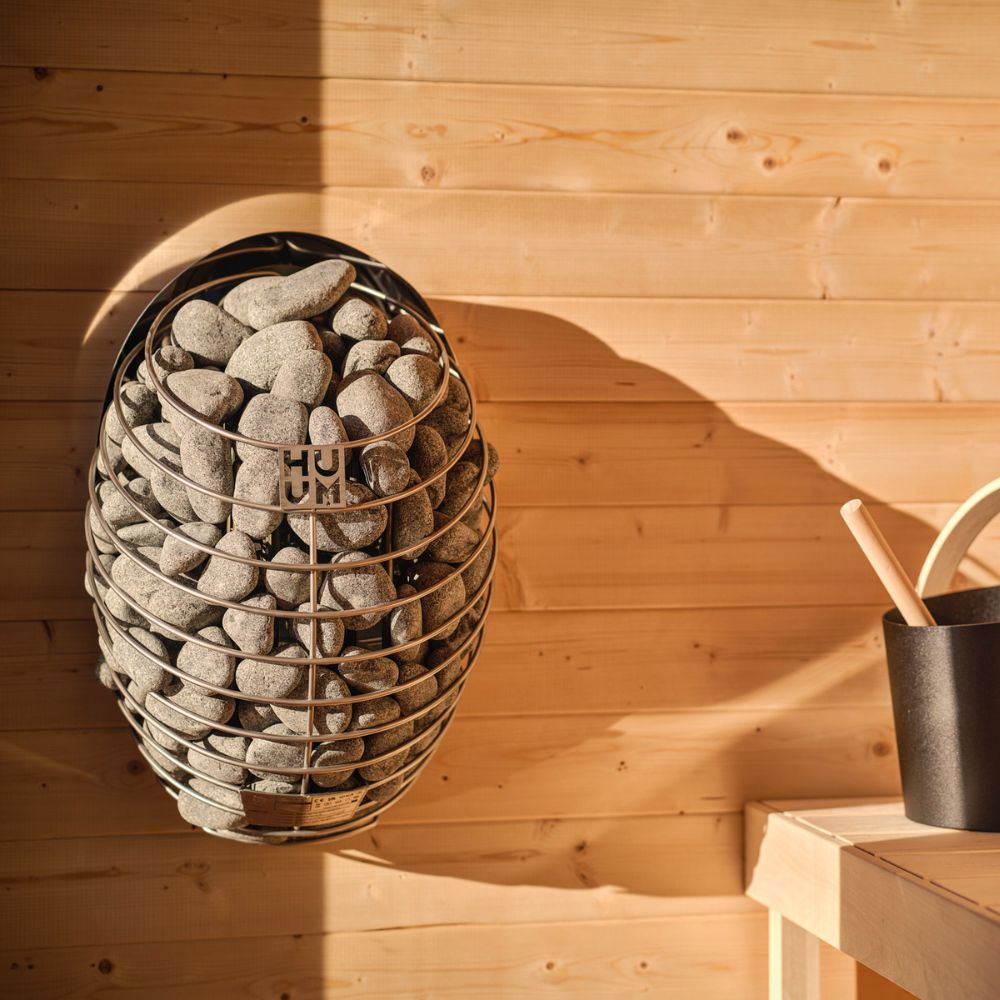
- Check heater stones regularly and replace if cracked.
Our Products

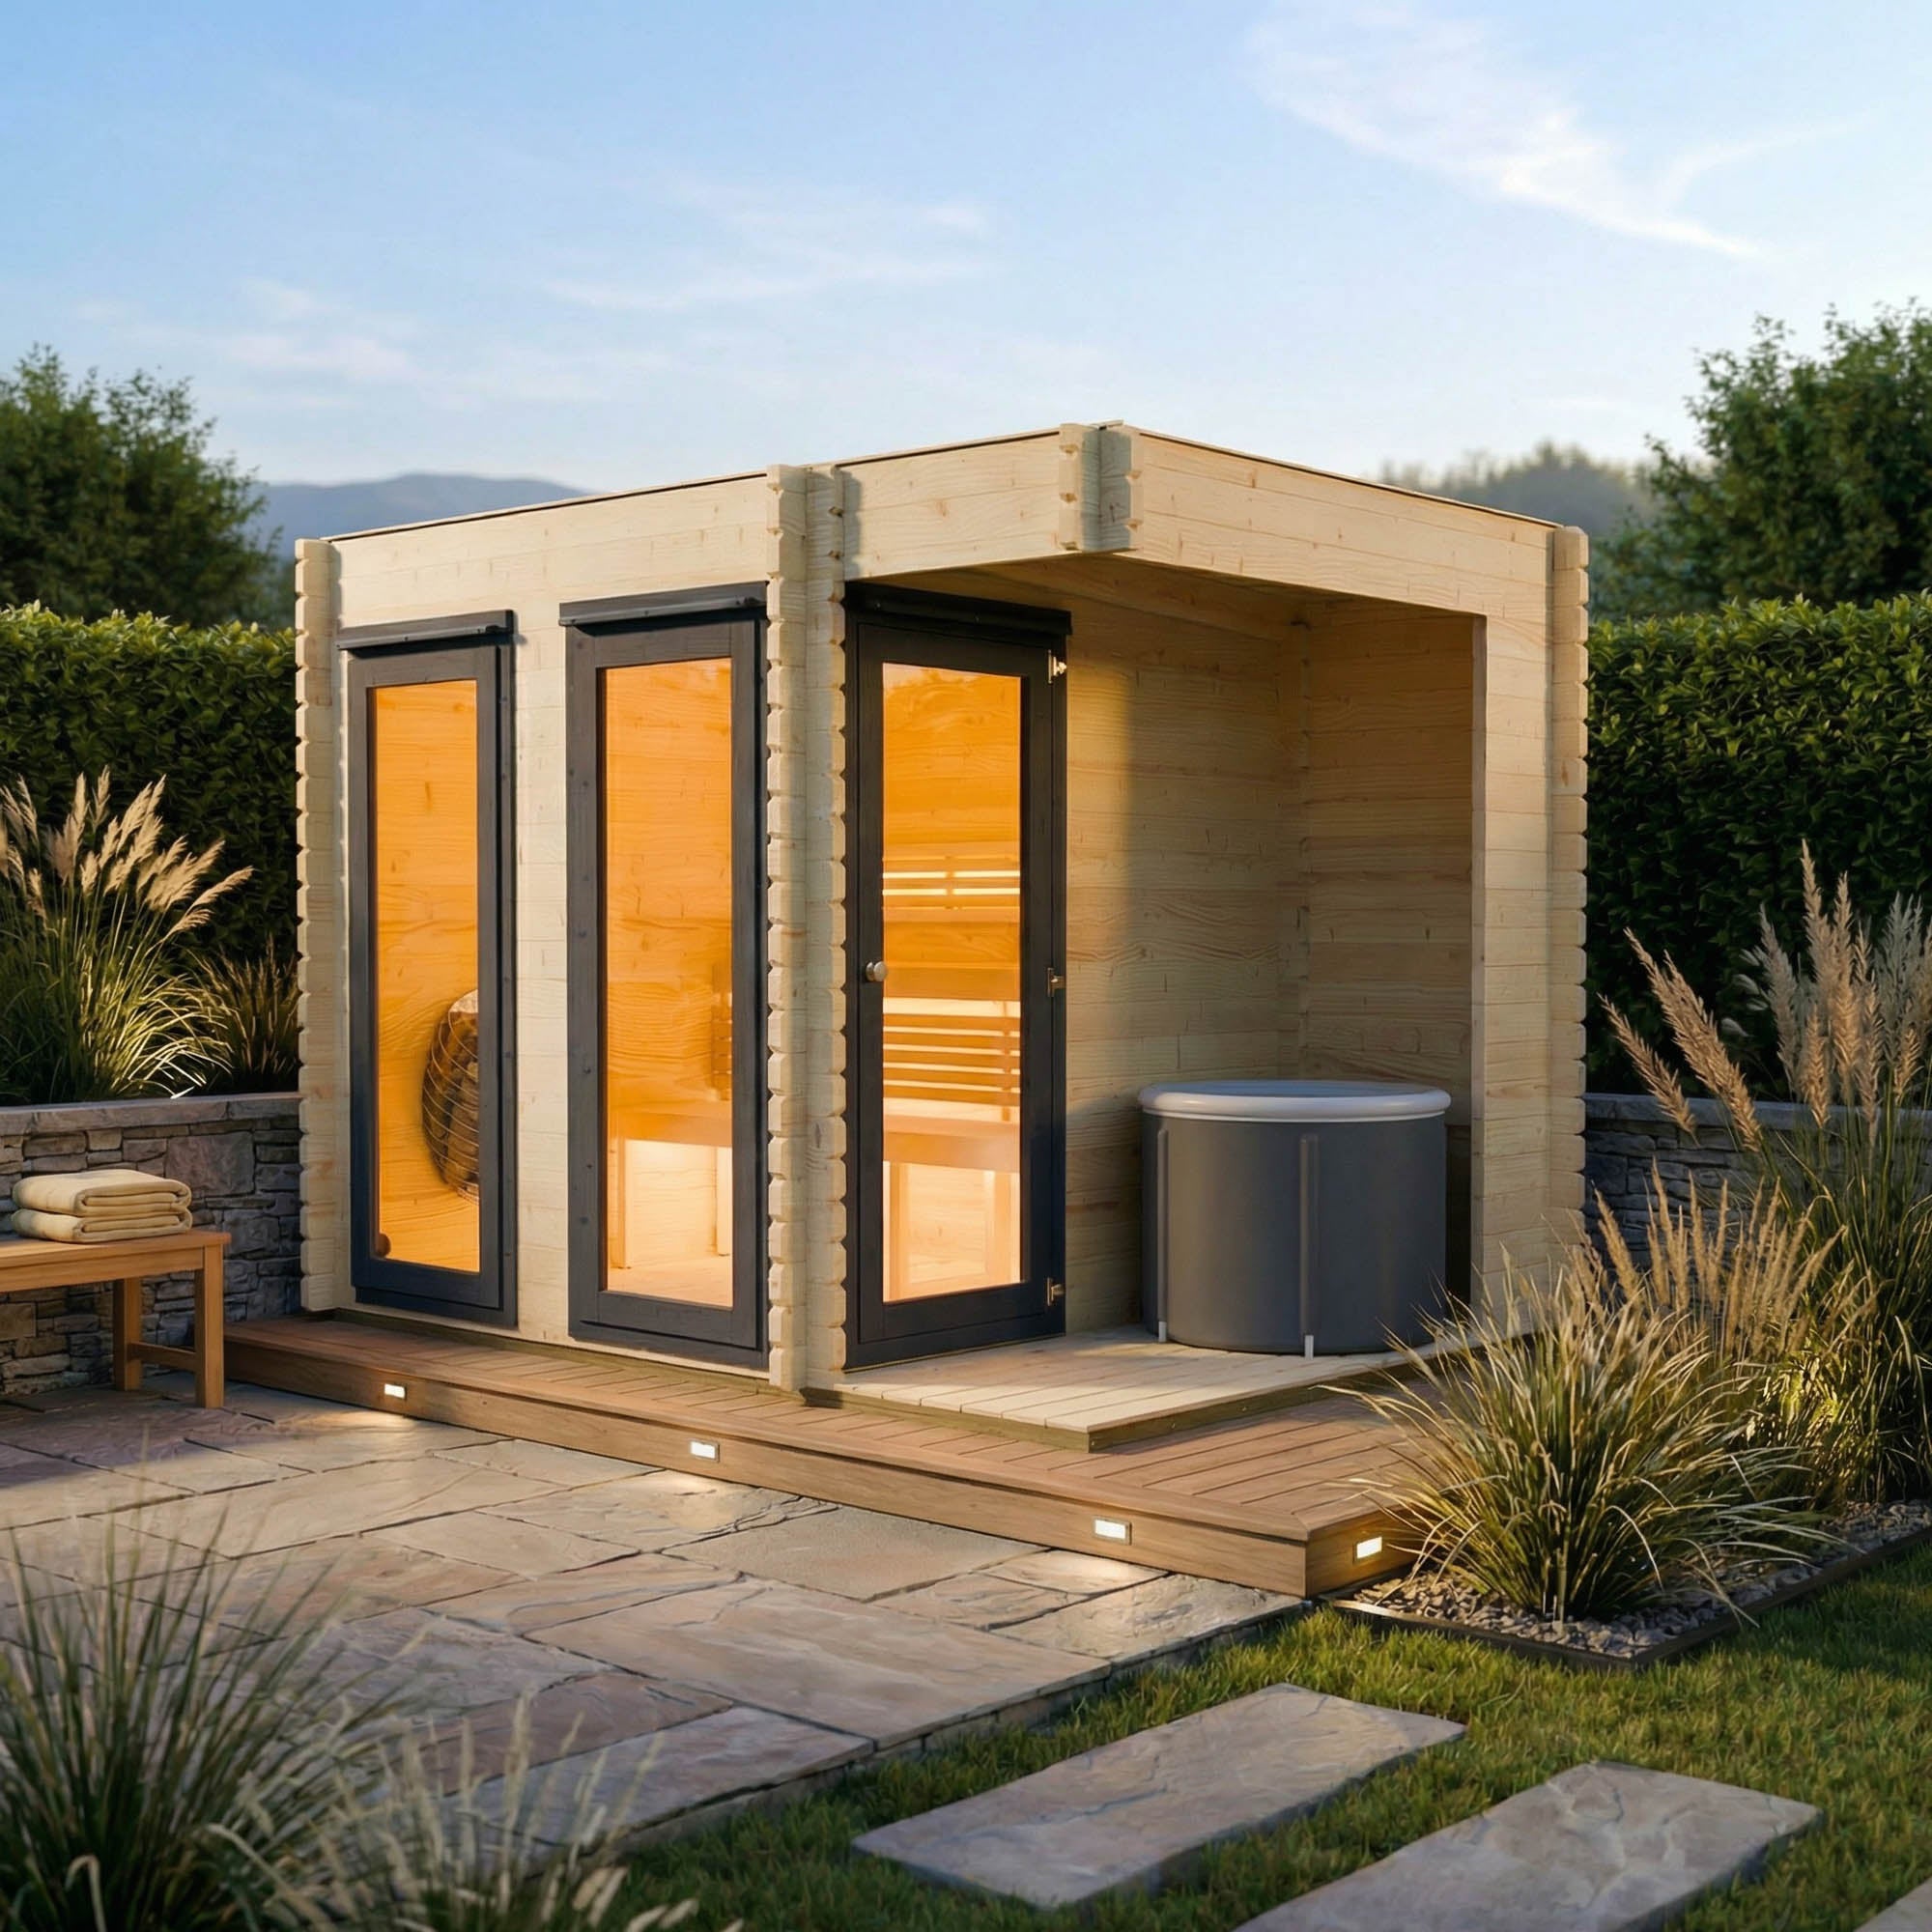
Novi Outdoor Sauna With Small Veranda

Novi Outdoor Sauna With Large Veranda
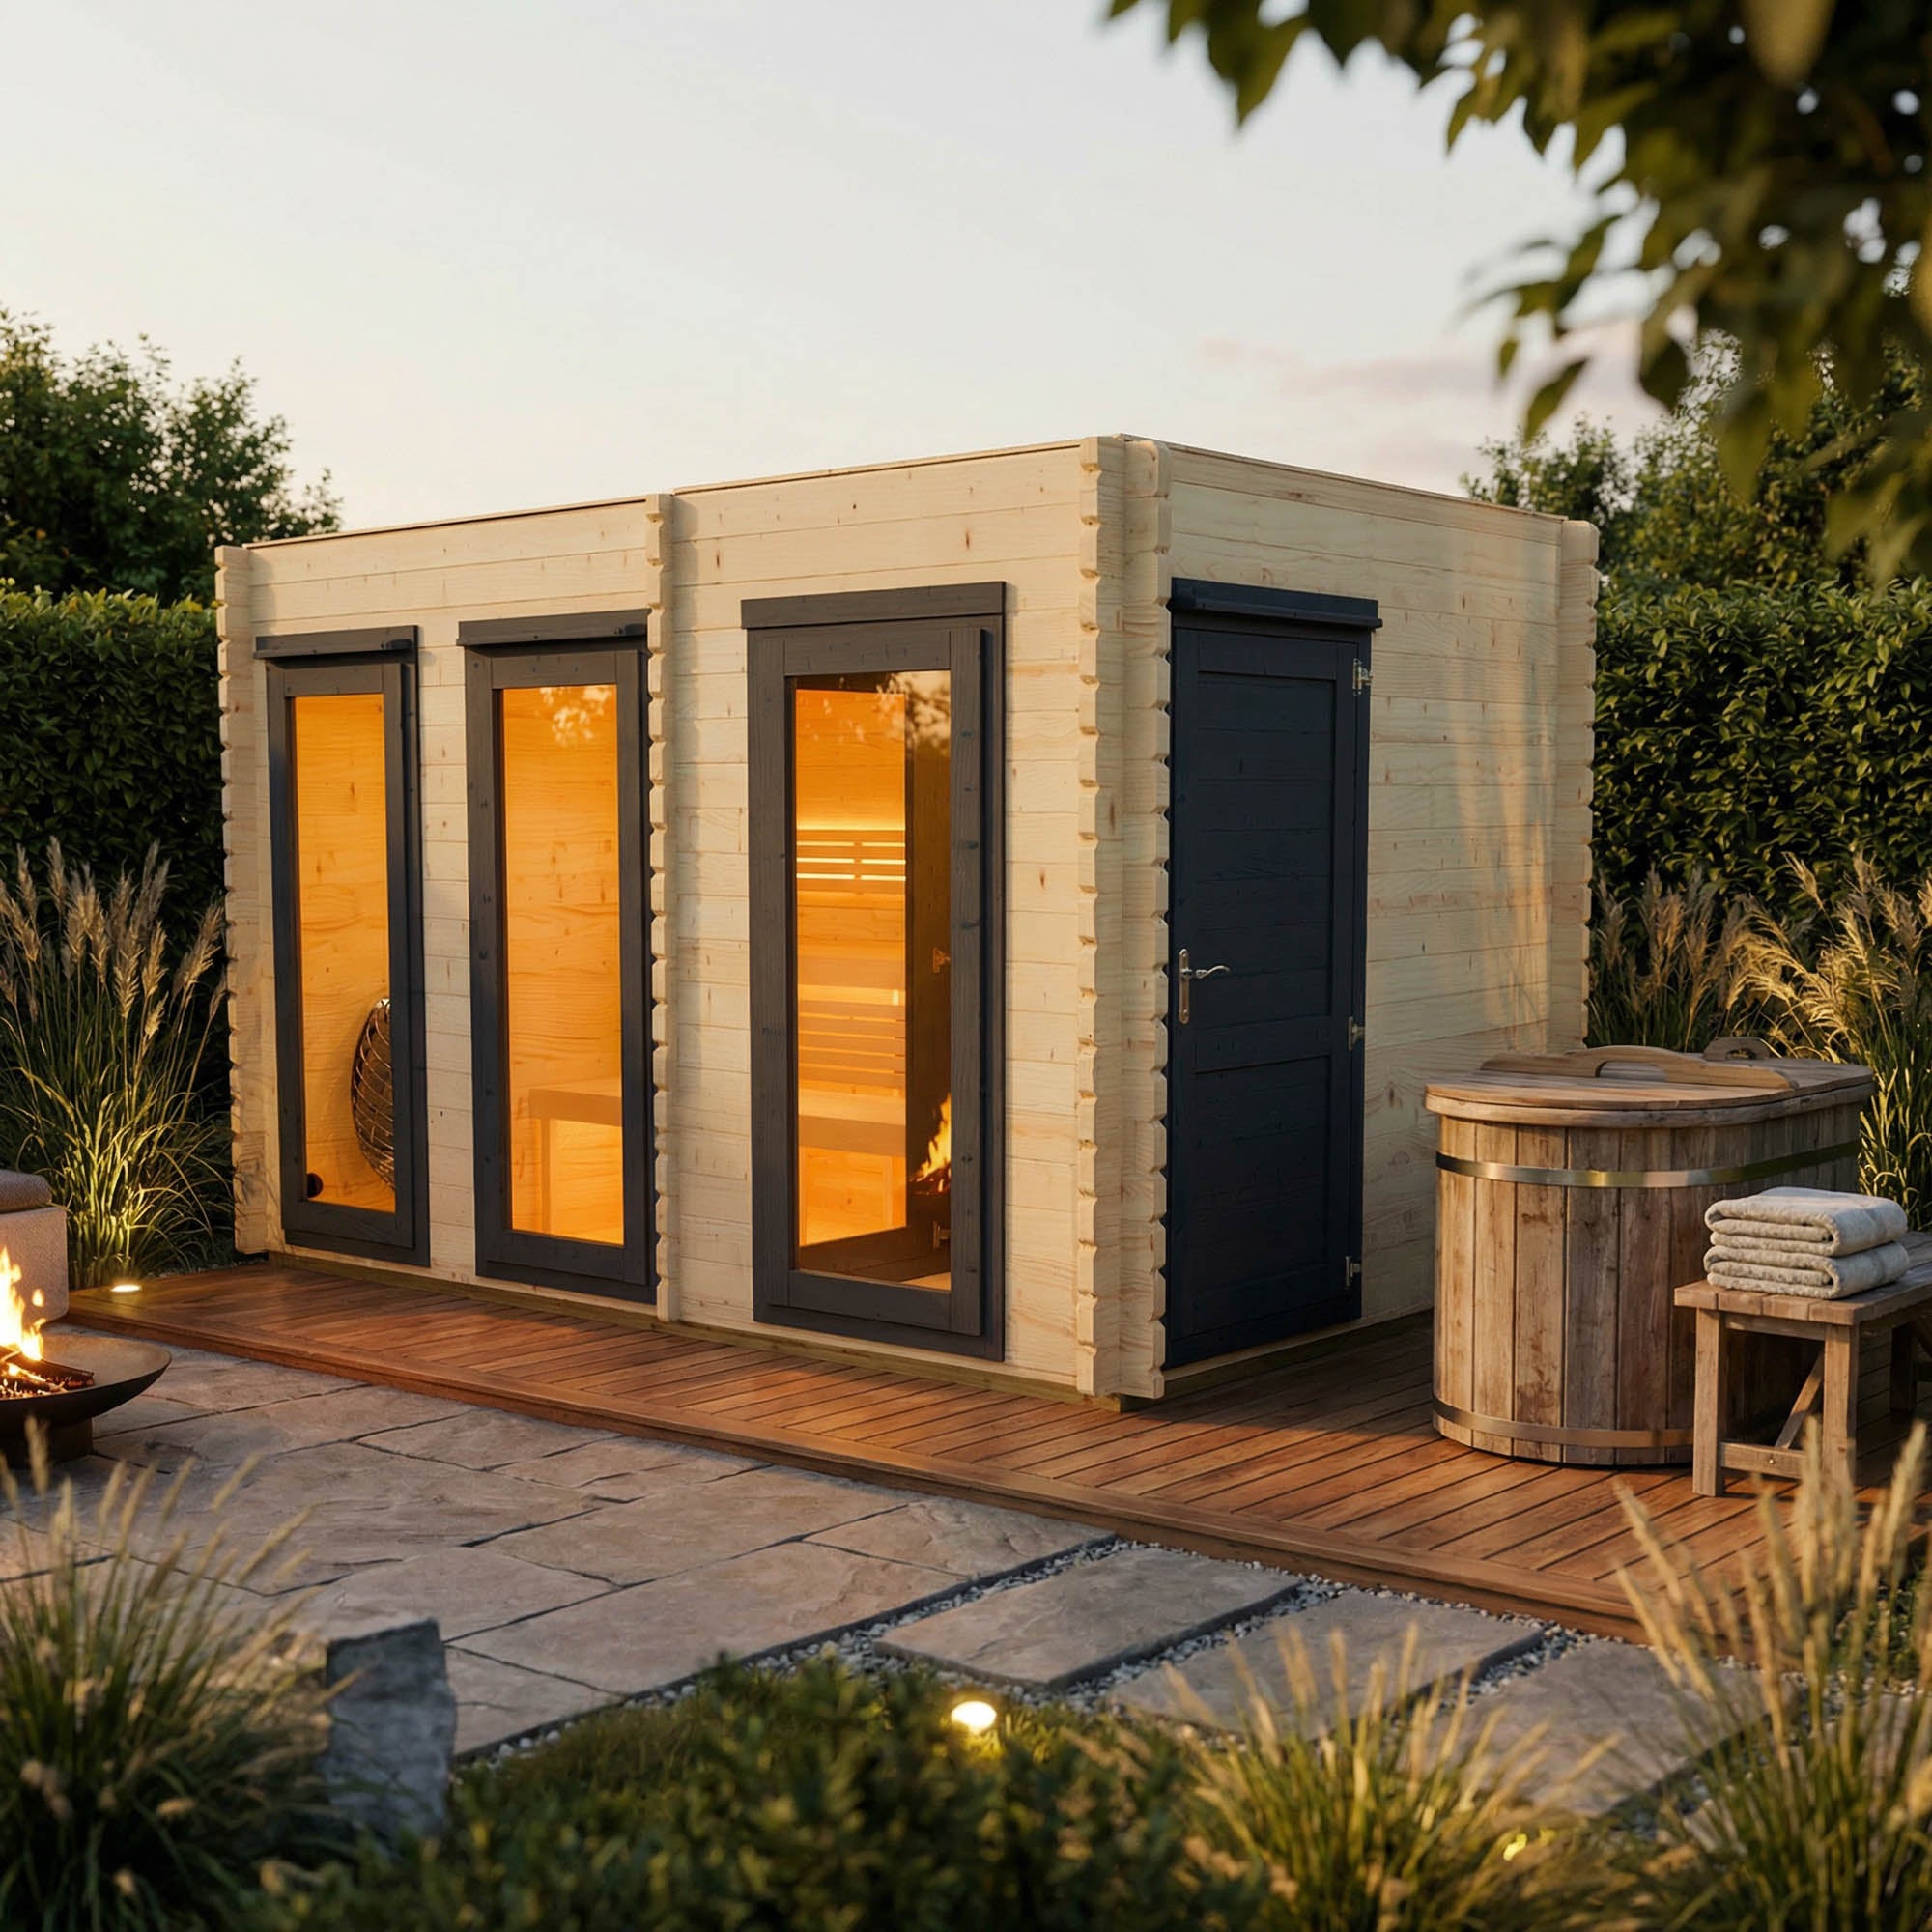
Novi Outdoor Sauna With Changing Room
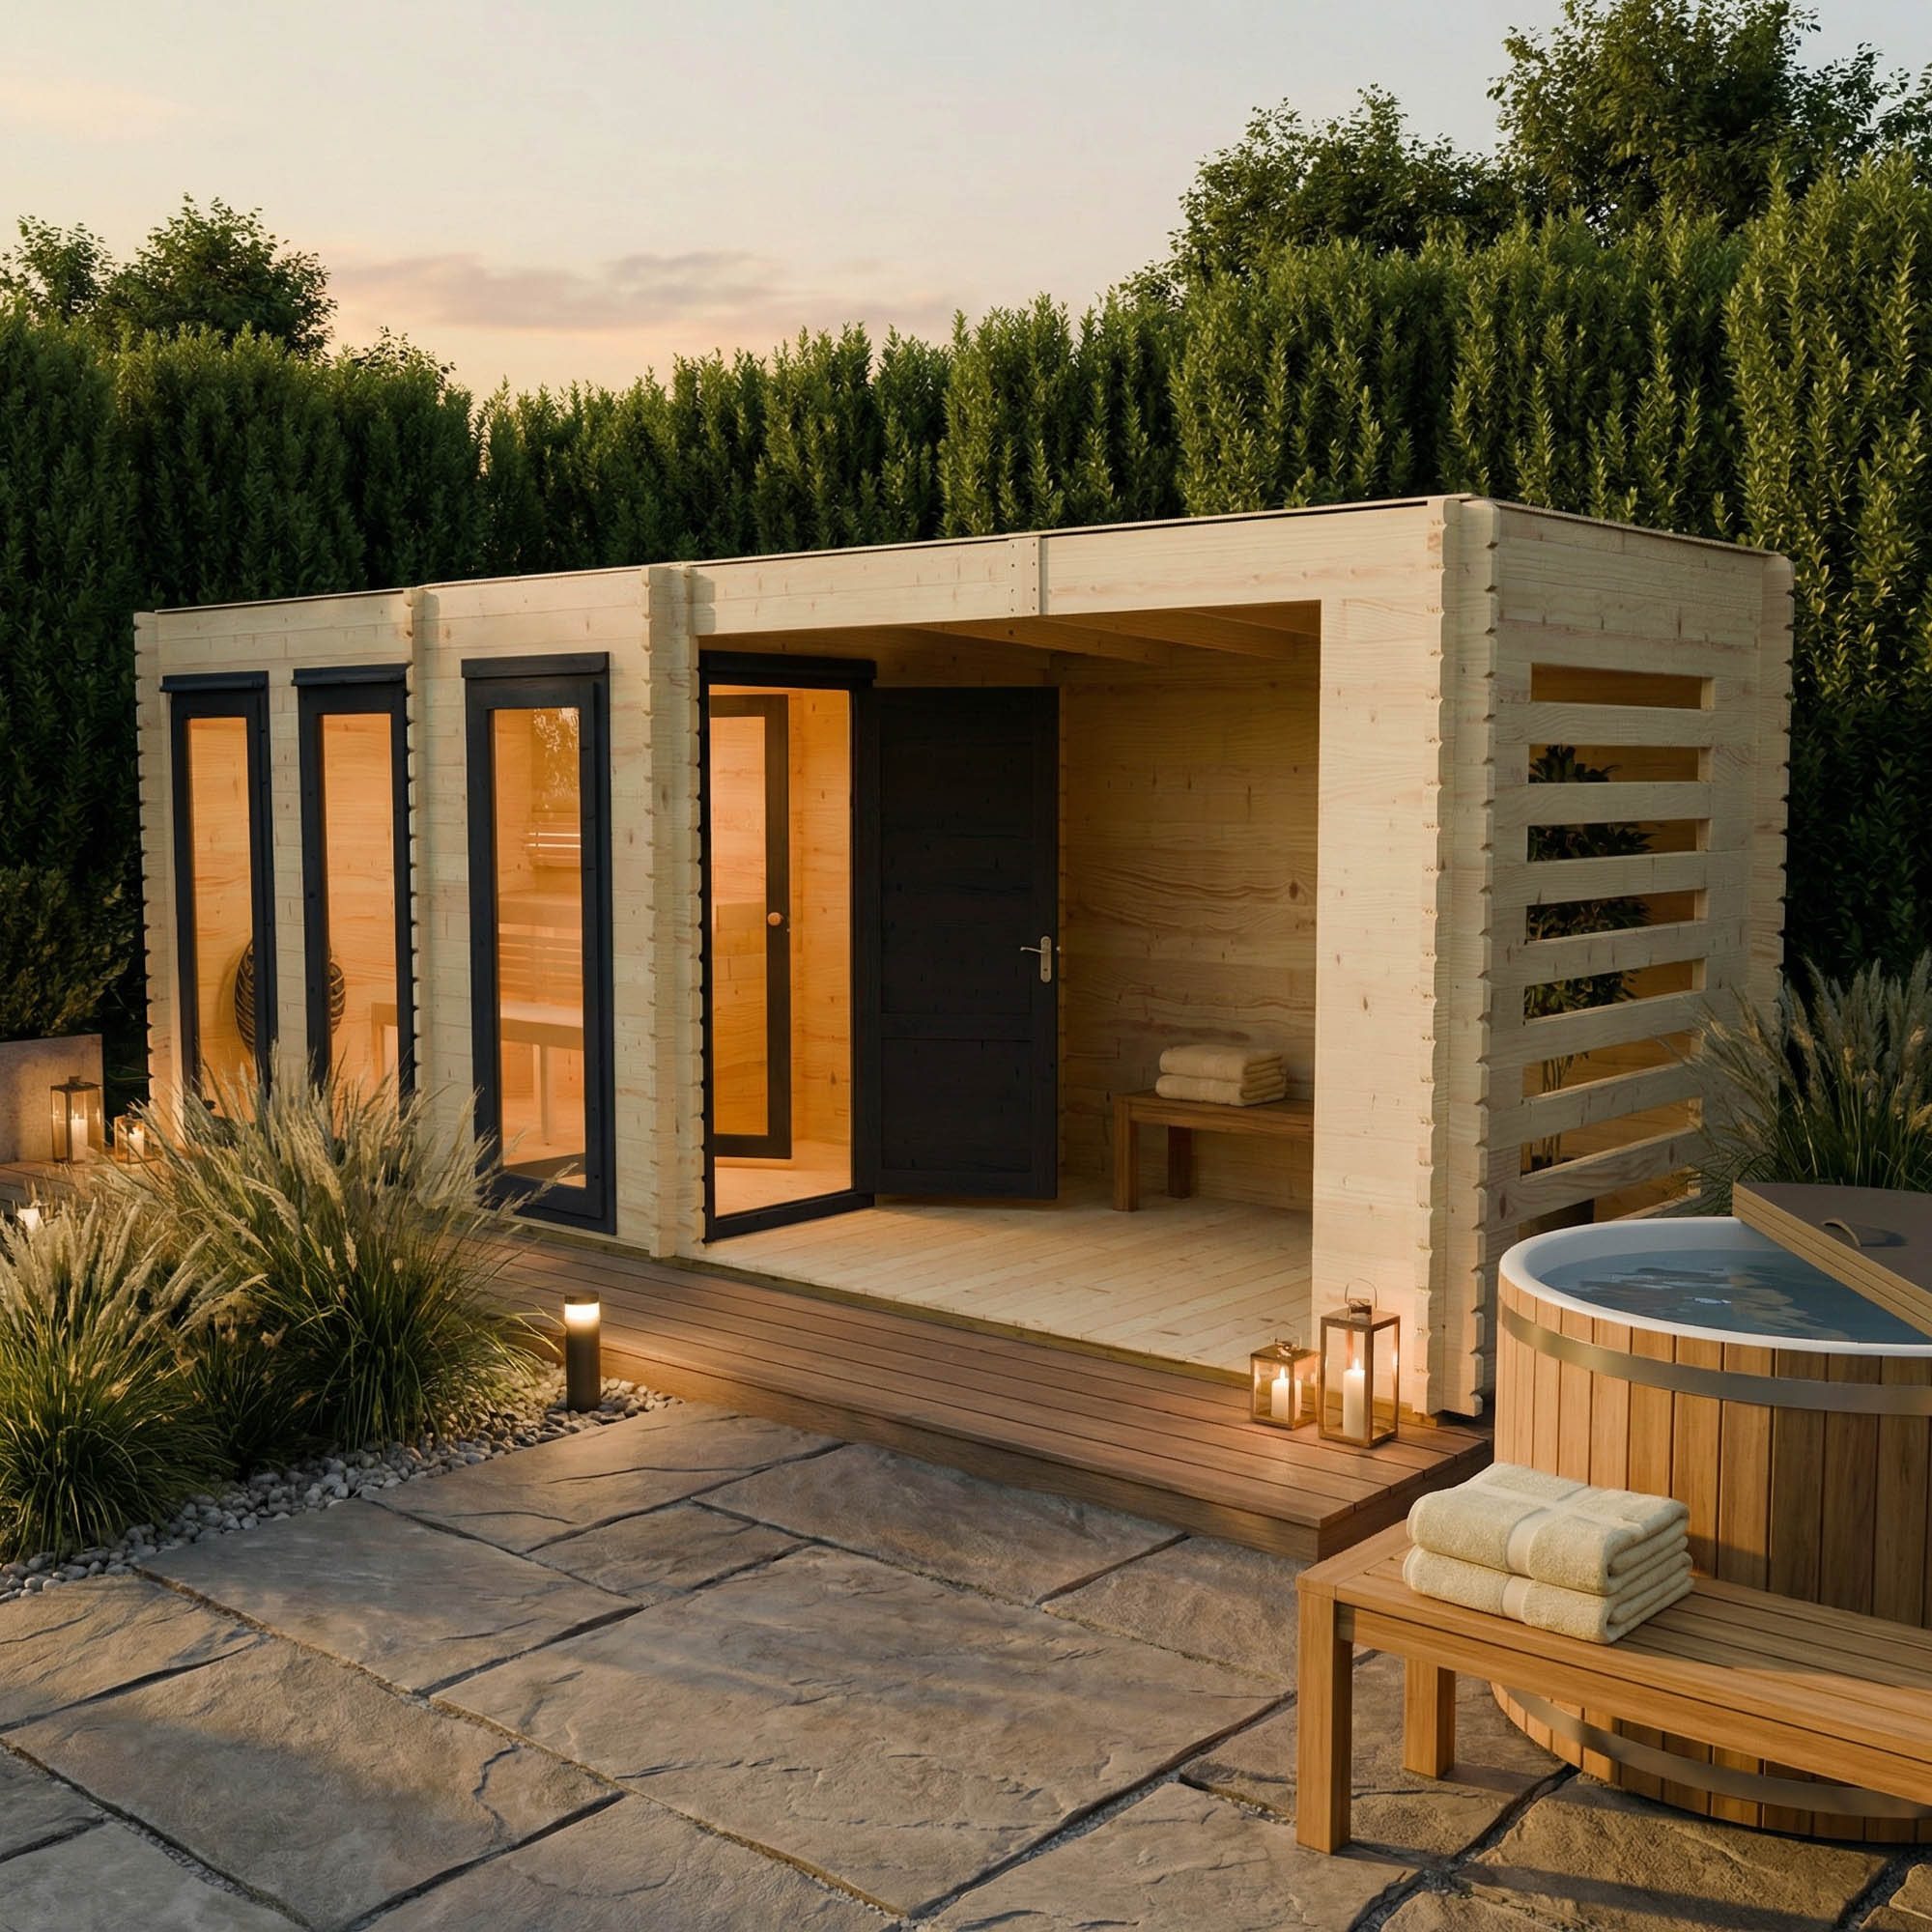
Novi Outdoor Sauna With Changing Room and Large Veranda
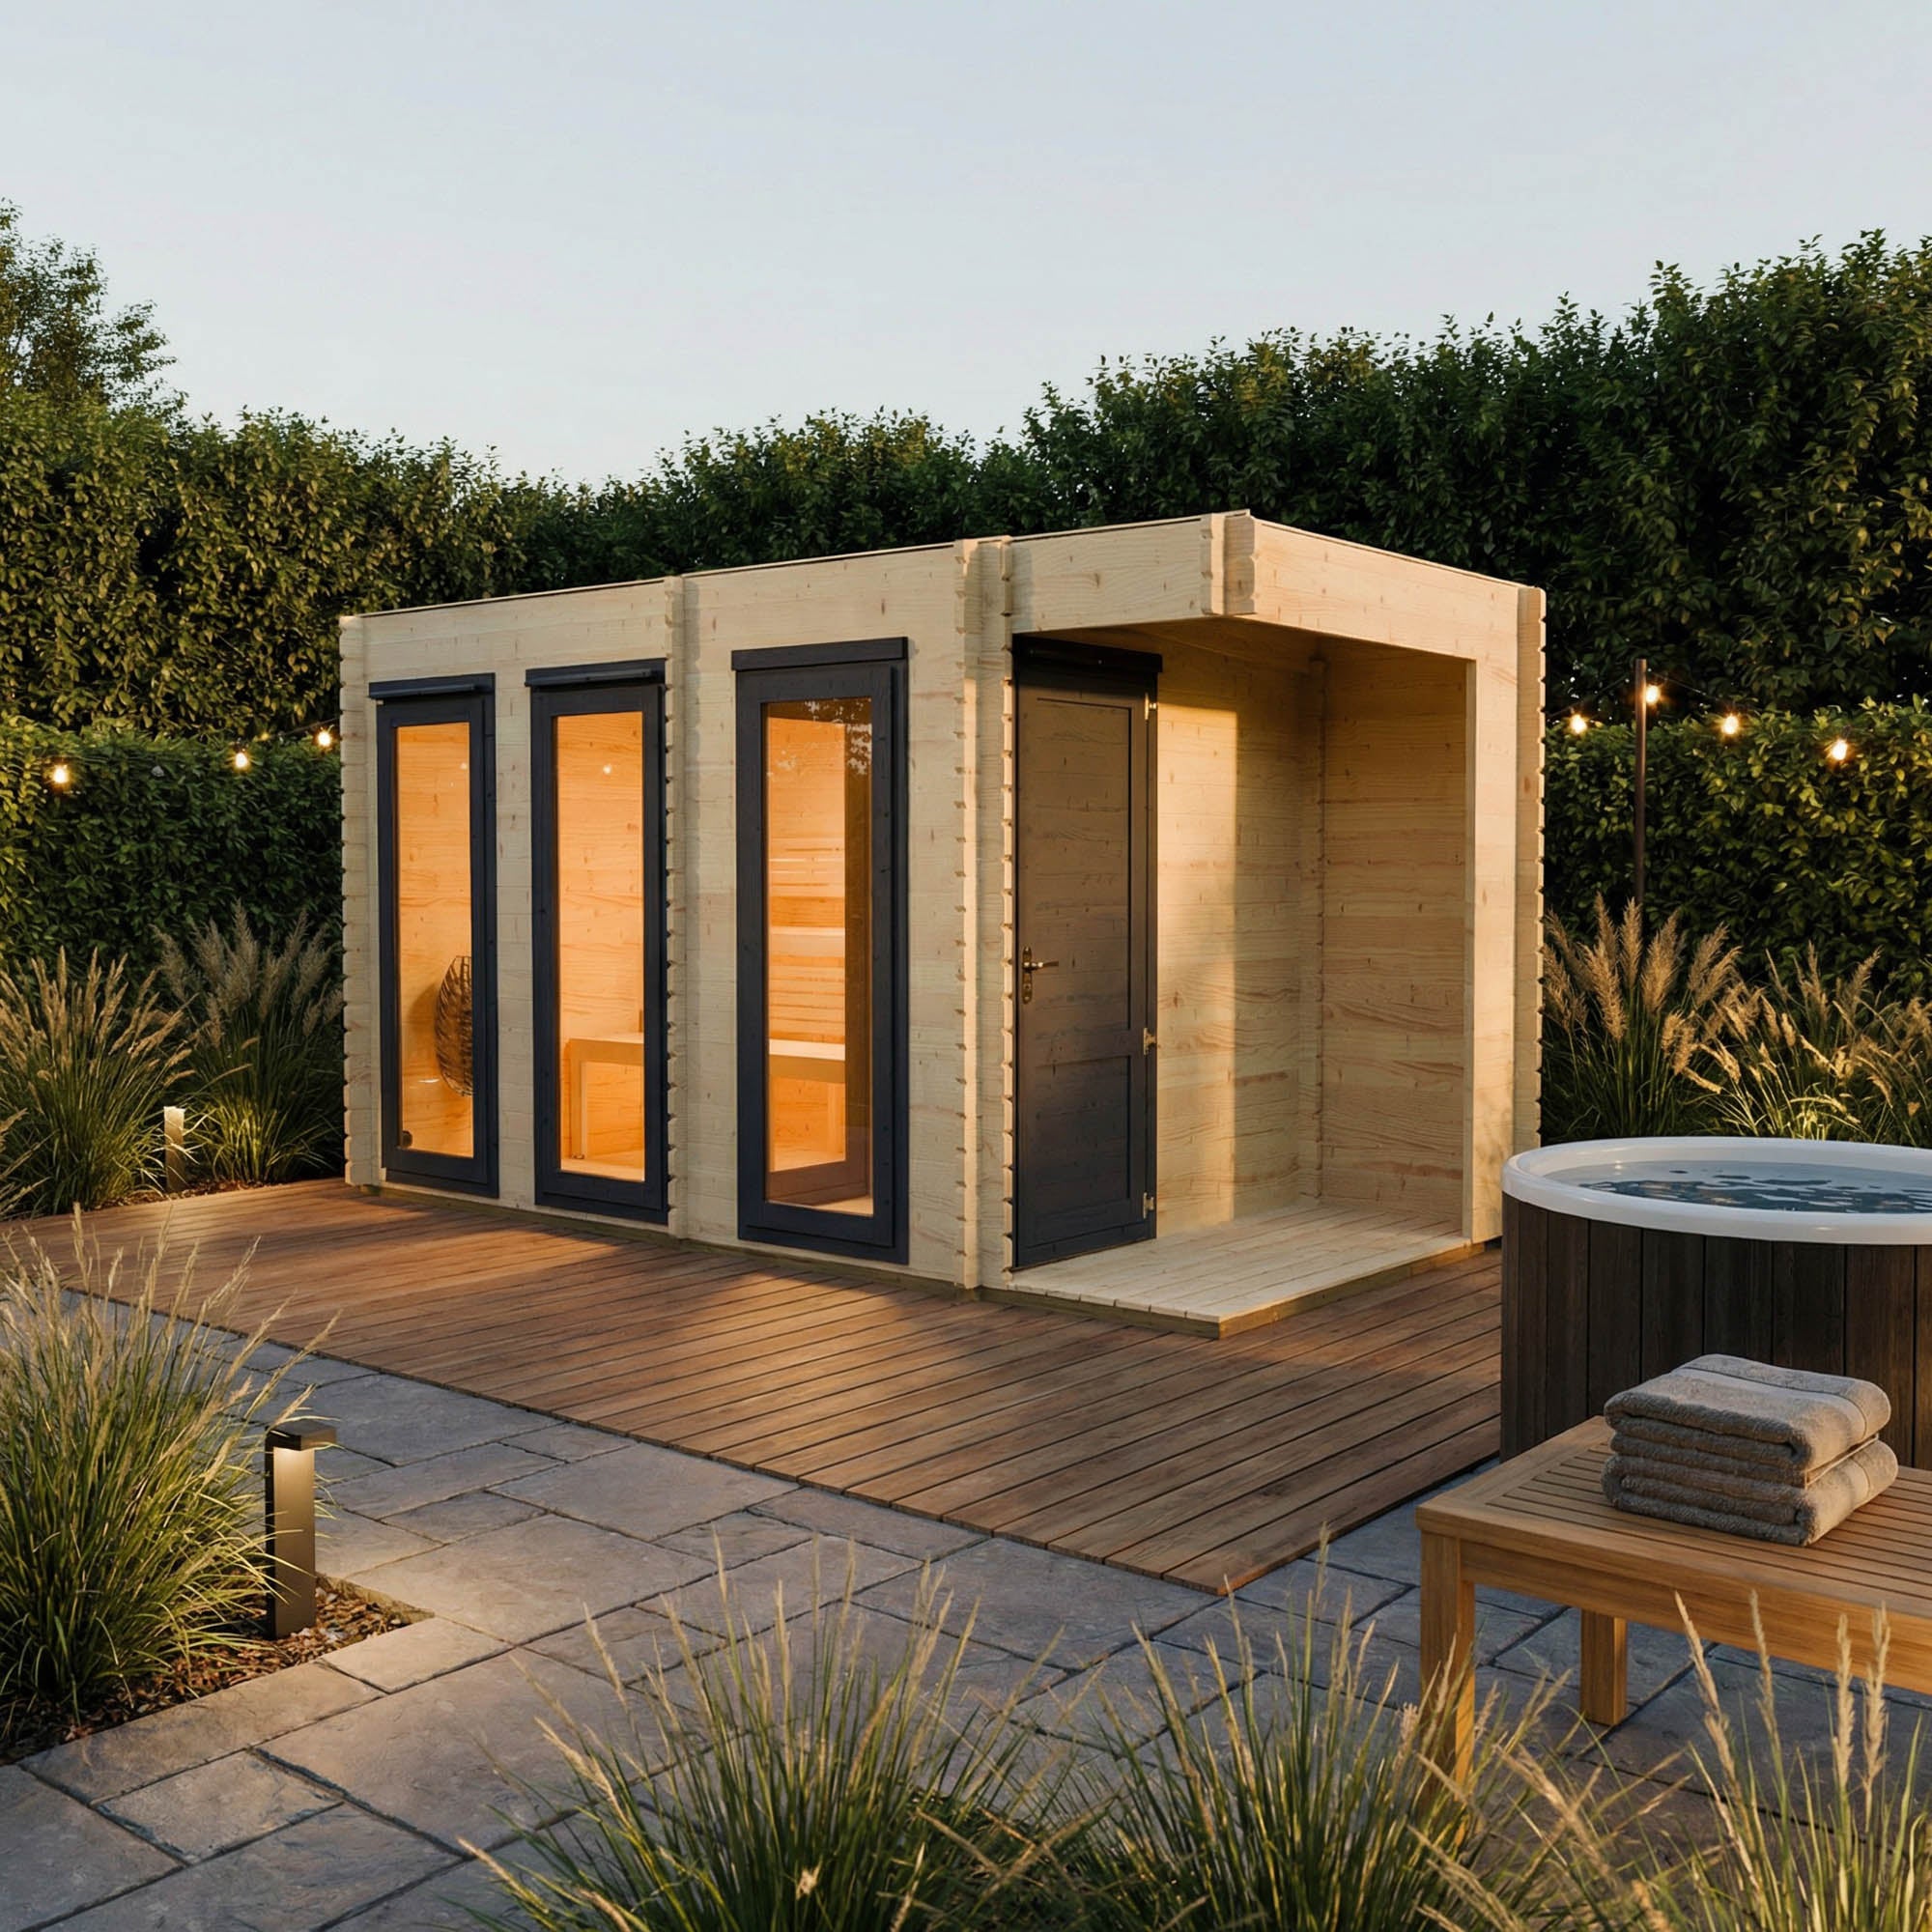
Novi Outdoor Sauna With Changing Room and Small Veranda