


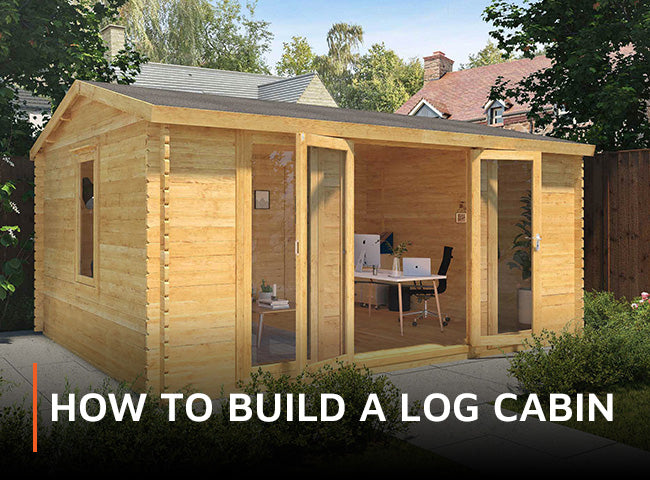
A day is all it takes for two DIY-savvy people to build a log cabin.
Read our step-by-step guide to building a 4m x 3m Waltons Home Office Executive log cabin, watch the video of tutorial, and apply the same lessons to your build.
- Prepare your ground
- Lay the bearers and base logs
- Fit the wall logs, windows, and door frames
- Install roof joists
- Add decking and roof boards
- Lay the floorboards
- Hang the door
- Fit storm braces
- Lay roof felt and add finishing boards
You'll need:
- Rubber mallet
- Hammer
- Tape measure
- Spirit level
- Saw
- Electric drill
- Screwdriver
- Wrench
- Ladder
Prepare your ground
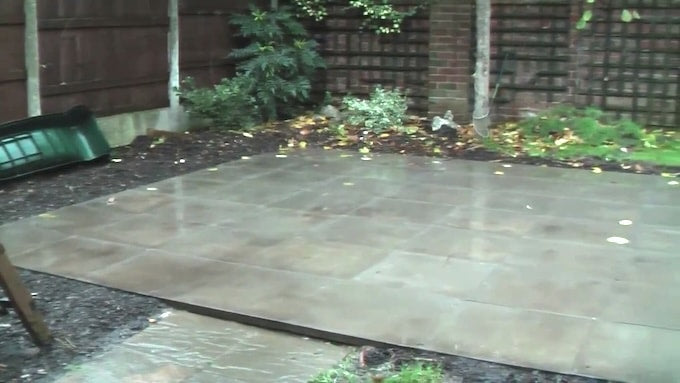
Ensure your base is firm and level. For a log cabin, we recommend either a solid concrete base, or concrete slabs, laid to the dimensions of the building. We recommend that a gap of two feet is left all the way around the edge of the base so that you have easy access when you come to treat the timber with wood preservative.
Lay your floor bearers out and evenly space them across the base. It's best to do this on a dry day, but if there is a bit of rain about, then use PVC covering on the bearers to prevent moisture rising up into the floor.
Lay the bearers and base logs
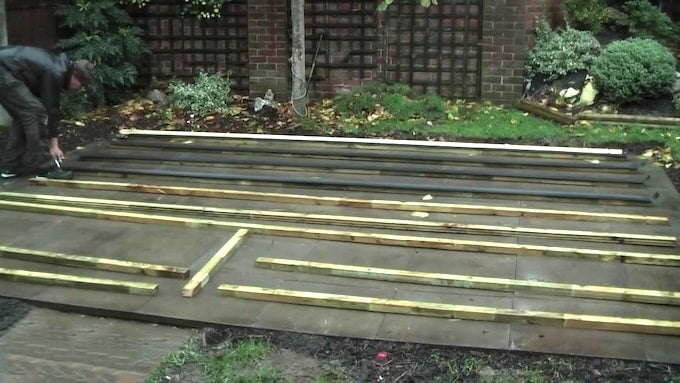
Once the bearers are down, lay the initial base logs across them, ensuring that all angles are square.
Secure the base logs to the bearers with screws to prevent movement of the building.
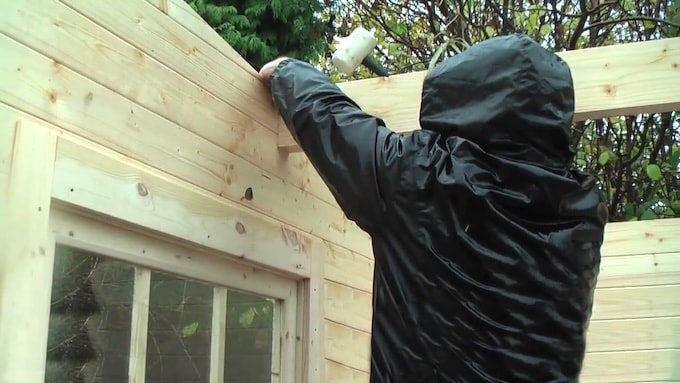
Fit the wall logs, windows and door frame
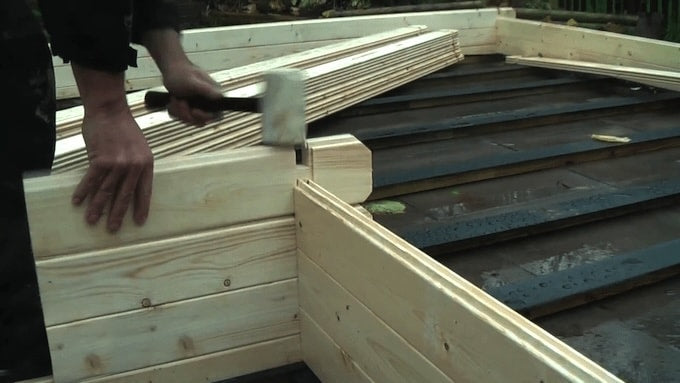
Gently, but firmly, tap the logs together at the joints using the rubber mallet. Make sure they're tightly secured in the tongue and groove along the length of the logs.
Once the walls are built up to about a third of the way up the window gaps, slot the windows in. Press down firmly at the top to ensure there are no gaps around the bottom edge.
If you find the window kit hard to slot in, loosen some of the screws slightly around the frame, then re-tighten when the window is in place.
Continue to build up the wall logs to the height of the door framework. The door frame pieces are to be slotted into the bottom, sides and top of the frame, and tapped securely into place with the rubber mallet. Finish building up the wall logs.
Install roof joists
When the wall is successfully built up, install the roof joists. Tap these into the upright channels at the top of the walls. The joists run from one side of the building to the other.
Add decking and roof boards
You can now start to work on the decking. Use the pressure treated boards provided. Use a board as a spacer to create even gaps. Screw the boards to the bearers to secure.
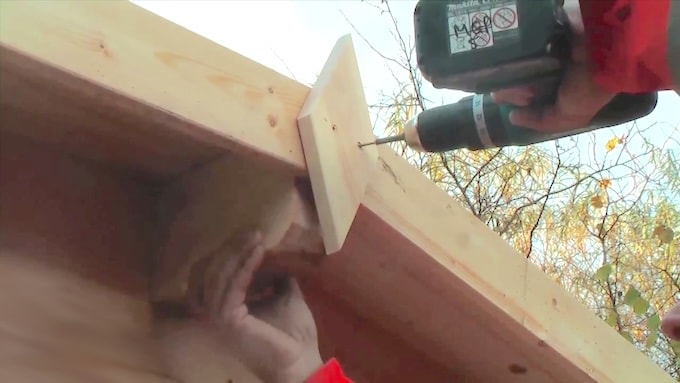
Install the exterior support beam onto the corner of the decking. This will support the overhanging roof beam. You may need to trim this to fit with your saw as it's not pre-cut. Secure with appropriate screws.
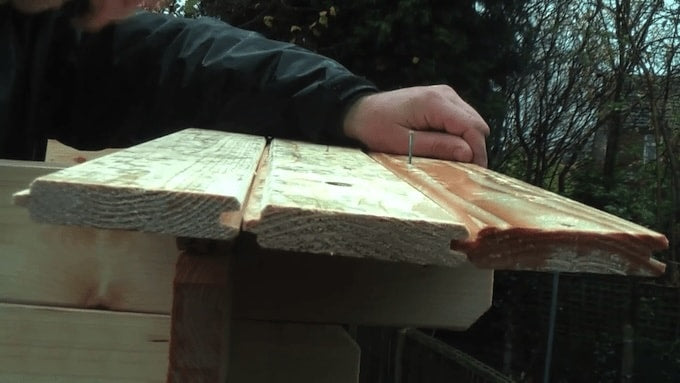
When you start on the roof, place the initial board on the beams with the groove facing away from the building. Line up to the end of the roof joists, and secure to all the roof beams.
Lock the boards into place, making sure they're flush at each edge, and that the tongue and groove is properly in place all the way along the board. Nail them to the roof beams to secure.
When you install the final roof board, you may find that it overhangs the joist. Trim to be level with the end of the roof support beam. Don't worry about rough-looking edges; roofing felt and fascia board will cover them.
Lay the floorboards
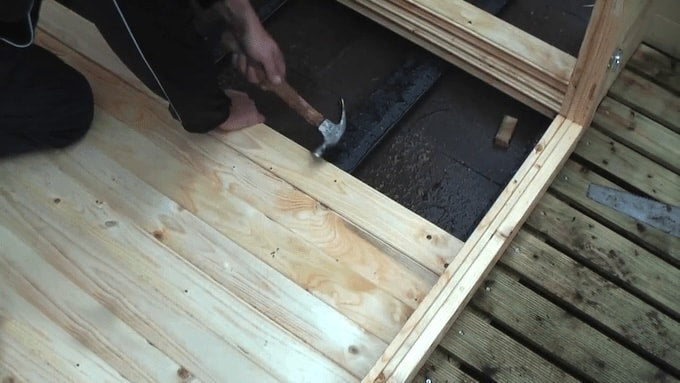
Secure the initial board against the cabin wall with the groove facing outwards, and nail into place. On each subsequent board, hammer in the nails at an angle to make sure the boards are pushed together firmly, with the groove of the next board covering the nail.
It may be necessary to measure and cut sections of the floorboards to allow for the internal angles of the wall logs.
Measure the internal dimensions of the cabin, and cut the finishing strips to size.
Secure these around the edge of the floor to neaten any rough edges, and give a better looking floor.
Hang the door
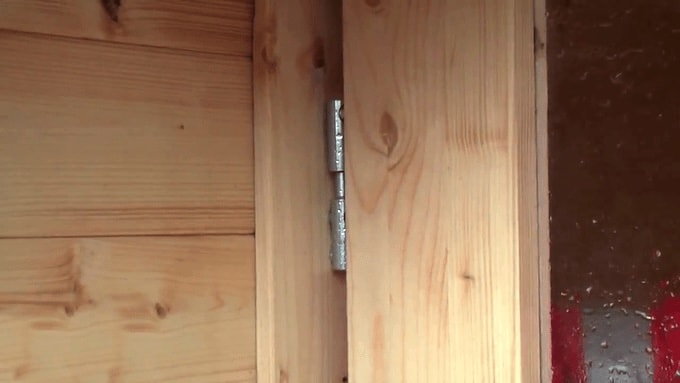
Simply line up the barrels of the door hinges with those on the door frame, and slot into place. Once closed, the door edges are covered by the framework, so they can't be removed from the outside.
Fit storm braces
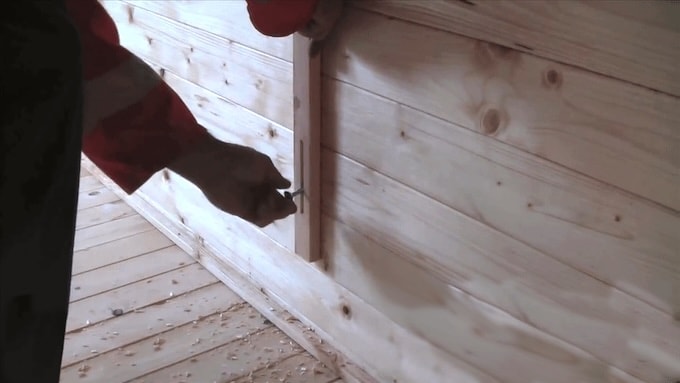
These give extra support to the building during high winds. Affix to the walls inside the cabin at the top and bottom of the brace by drilling through the wall log, and securing with a nut and bolt.
Lay roof felt and add finishing boards
Roll out your felt and cut enough to cover the length of the roof. Leave an overhang of two inches either end.
For this building, you'll need five strips.
Lay the felt either side of the apex, nailing down at two inch intervals. Overlap each strip by at least an inch to prevent water creeping in. Lay the strip to cover the apex last.
Fold the overhang over the edge of the roof and secure to the roof beams.
Use the fascia boards to lever the roof felt down, and screw to the roof beams. Drill pilot holes to prevent the wood splitting.
Secure the felt to the front and back of the roof with evenly-spaced tacks to give a more professional finish.
Your log cabin is now ready for you to turn into your ideal workshop, man-cave, restful retreat or any space you choose! Have a look at the video below for a slightly more in-depth look at the process.
Share:
How to fix a broken shed window
How to dismantle a shed