


For a shed roof covering that offers the ultimate in durability, choose EPDM, or 'ethylene propylene diene monomer'. With a life span of up to 50 years, this versatile, synthetic rubber compound is ideal for covering apex, pent and flat roofs.
Because EPDM comes made-to-measure, you don't need to cut and join it – just glue it down using the correct adhesive. With our handy guide and video tutorial to help, you can easily cover a standard shed roof with EPDM in just a few hours. Here’s our guide to installing EPDM on a garden building. If you want a bit more detail, check out the video at the end.
At a glance:
- Prepare your shed roof
- Lay out and glue the EPDM sheet
- Smooth down the rubber
- Finish with plastic capping or timber batons
You will need:
- Electric screwdriver
- Ladder
- Long handled roller
- Long handled brush or broom
- Hand saw
- Hammer
- Utility knife
- Tape measure
- Protective gloves
There are several methods you can use to install the EPDM. This guide will take you through installation with plastic capping and edging, as well as how to secure the roofing with timbers and batons for a more natural look.
1. Prepare your shed roof
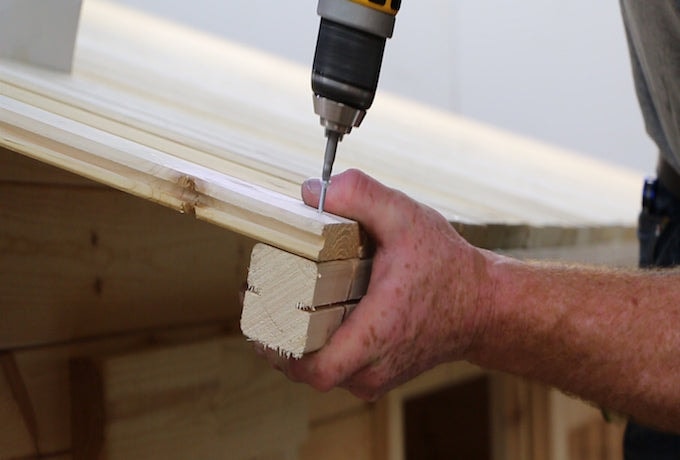
Image: Waltons
- Place 2x2 batons underneath each side edge of the roof, and secure in place with screws down through the roof board. Countersink the screws so that the rubber doesn't snag on the heads when you put it on.
- Place a length of trim against the batons, 5mm below the edge of the roof. Again, countersink the screws. If you're using more than one strip on the same side of a shed, allow a 5mm gap between them to allow for expansion on warm days. It'll be covered by the rubber and capping.
2. Lay out and glue down the EPDM sheet
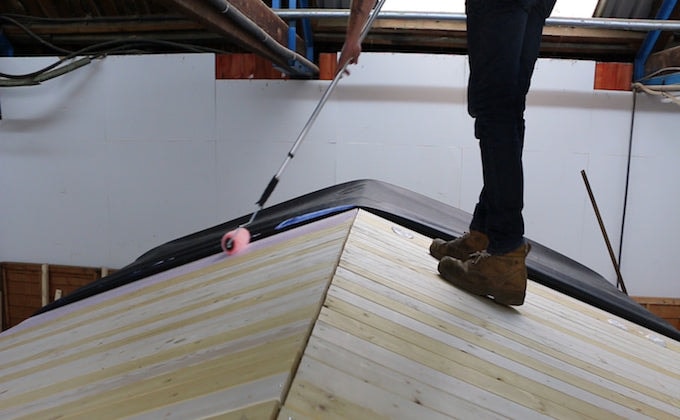
Image: Waltons
- Lay out the EPDM. Lay out one edge so that it overhangs by about 12 inches, and then just pull the rest over the roof. Trim off any large excess so that you have a sheet that's easier to deal with.
- Pull the rubber back just over half way along the roof, smoothing out any folds or wrinkles as you go. On an apex roof, pull the rubber back along the apex.
- Tip out your glue in even spots along the roof next to the edge of the rubber. Take care not to put it too close to the edge of the roof. Use the roller to spread the glue across the area to the width of around two to three feet. If it's too close to the edge, it'll spill over the side when you roll it. Repeat this process until you've reached the edge of the roof.
3. Smooth down the rubber
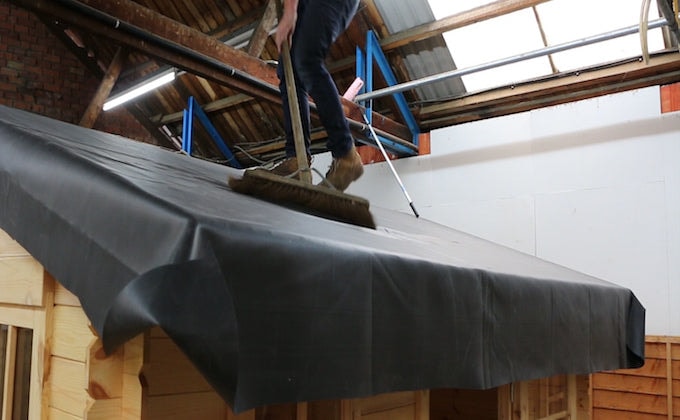
Image: Waltons
- With one half finished, use your broom to sweep the rubber down towards the edges, removing bubbles and wrinkles as you go.
- Pull the rubber back to expose the other half of the roof, and repeat the previous process.
- With a fully covered roof, measure the width of the roof to give you the required length for your plastic capping or timber.
… or with timber batons & fascias
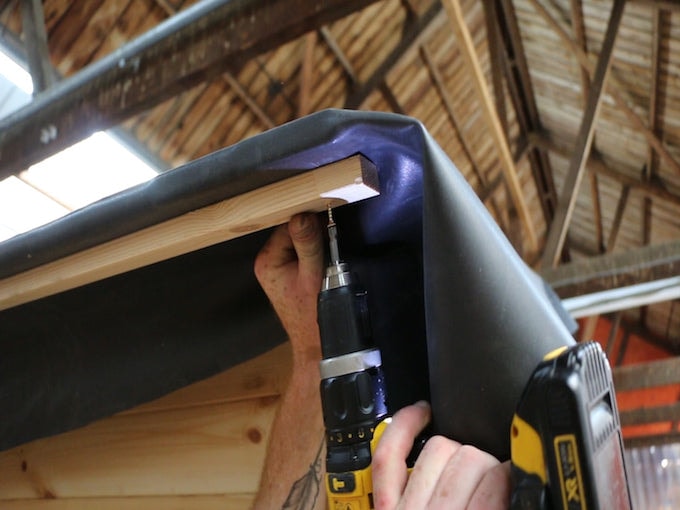
Image: Waltons
- Fold the rubber under the edge of the roof on each side of the building, and screwing in batons under the edge, approximately an inch in from the edge. This allows rainwater to drip from the rubber rather than damaging the wood.
- Run a knife along the back edge of the timbers and trim the excess rubber off.
- Fold back the rubber from the edge of the roof at the ends so that you can affix the first set of fascia boards.
- Screw the boards into the roof logs, ensuring that they're countersunk for a flat finish. Fold the rubber down over the boards and trim the ends so that it fits neatly under the second fascia. Create a small fold at the apex to prevent wrinkling.
- Attach the second fascia boards, sandwiching the rubber in between these and the first set. Trim off the excess as before.
And that’s it! A little more complex than fixing roof felt, but anyone with reasonable DIY skills should be able to undertake this task, and make their shed or log cabin roof waterproof in less than a day.
Share:
How to build a wooden shed
How to light your shed