


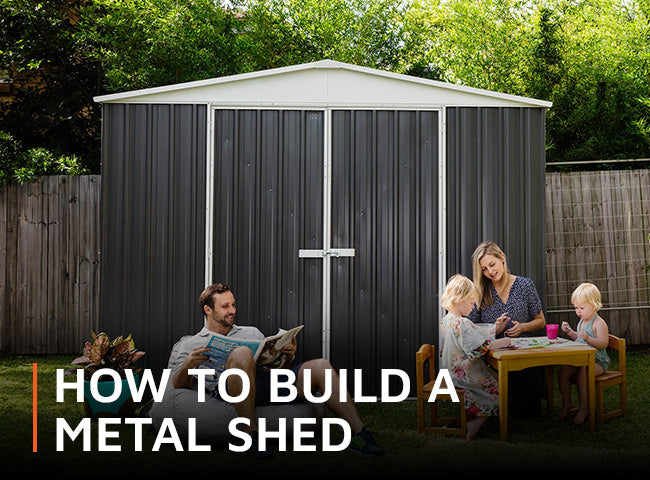
Buying a metal shed? Find out just how easy it is for you, plus a friend, to assemble a metal shed from scratch.
Here's our detailed guide to erecting a metal apex shed. We've used a 7ft x 4ft metal shed here, but the principles apply for other sizes too. Be sure to watch the video tutorial as well, and you'll be ready to apply these concepts to your own build.
At a glance:
- Make sure your base is secure
- Construct and affix the base frame
- Build the walls
- Add in the roof frame
- Affix roof panels and plastic fixings
- Put the doors in.
You’ll need:
- Posi-drive screwdriver
- Drill
- Tape measure
- Square
- Spirit level
- Pencil
- Pliers
- Protective gloves
- Ladder
- Household oil lubricant
Make sure your base is secure
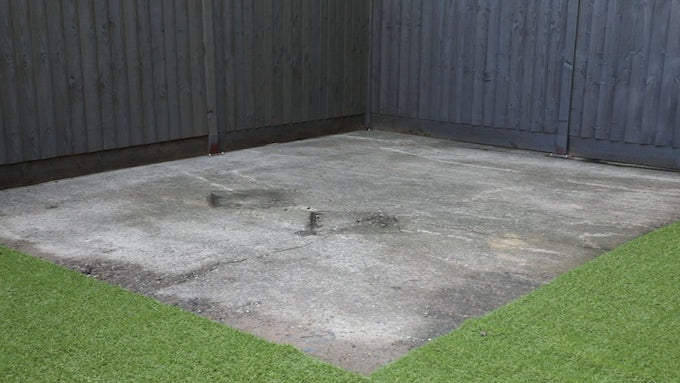
Make sure you have an appropriate base. For metal sheds, a level concrete slab is the best option. Check that it’s level and free from faults.
Construct and affix the base frame
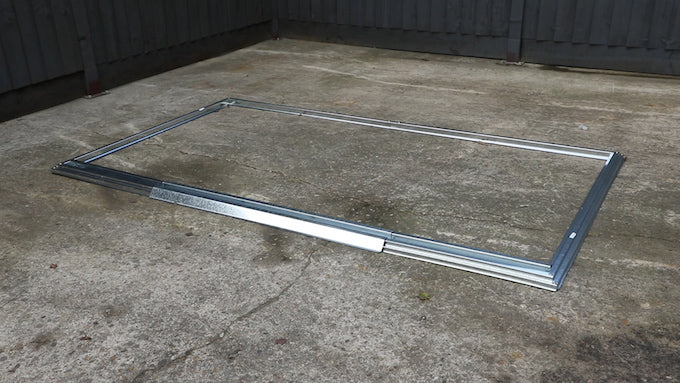
Using the instructions, identify all the parts needed for the base installation.
Lay out the base frame, and, section by section, align the screw holes and secure with screws and washers. Put the door threshold into place, but don’t secure it yet.
Make sure your shed is in the correct position on your base, and that the pieces are square across the angles. Check this with a tape measure - if the diagonals are the same measurement, it's square. If not, adjust accordingly.
When the base frame is square and in position, use a pencil to mark through the holes in the frame onto the base. Drill into the base at each marked point, insert plugs into the holes, and secure the base frame to the base with screws.
Check that everything is square and level before moving on.
Build the walls
Identify all the parts for the wall assembly from the parts list.
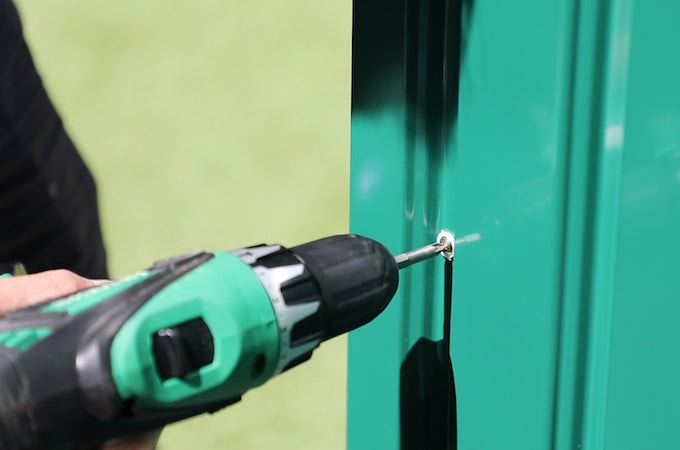
Position the first two panels over the front right corner, making sure the joints overlap.
Fix the panels to the base frame using screws and washers. Join them together by threading a bolt through the front holes in the middle of the panels with a washer, and securing with a nut on the other side.
Repeat on the front left corner.
Assemble the front frame with the framing pieces and a C-shaped plate. Screw together through the pre-drilled holes.
Insert door runners into each end of the front framing. These act as support for the shed doors. Slot this framing into the top of the wall panels, with the opening facing into the building. Secure to the front panels.
Align the third wall panel against the existing panel on the right, and secure along the bottom edge and middle.
Position a rear wall panel to overlap and form a corner. Repeat for the opposite corner with the same shaped panels.
Install the top panel framing. Position the frame pieces over the top of each side panel, making sure the lip of the frame faces into the building. Fix each frame at the top of the side panel with screws and washers.
Once the frame is completed, affix the final wall panels and secure the door threshold to the base frame with screws.
Add in the roof frame

Identify all the parts you’ll need for the roof frame assembly.
Start by removing the top two screws from the front framing plate.
Position and fix the door framing to the left of the doorway as directed in the instructions. Repeat for the right side of the doorway, making sure that the framing is aligned.
Secure the top door crossbar over the bar at the top of the doorway.
Place a triagular apex panel onto the top of the door framing on the left and secure with screws. Repeat on the right, and then fix the apex panels to the rear frame in the same way. Secure L brackets into the corner of each piece.
Position the two different L brackets against the ends of the long roof beams, and secure with nuts and bolts. Fix the two other beams together and bolt together through the middle.
Position each ridge bar between the apex panels, aligning the L plates with pre-drilled screw holes. Secure with a bolt, washer and nut.
The central beam bridges the gap over the apex. Pry the ends apart slightly to fit either side of the triangular framing. Fix with nuts and bolts at each end.
Bring the assembly together with a nut and bolt on the front and back of the building through the L bracket.
Affix roof panels and plastic fixings
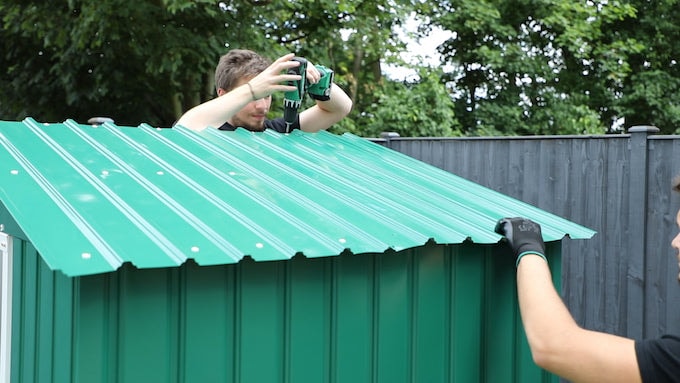
Identify all the parts necessary to assemble the roof.
Arrange the first roof panel over the front right quarter of the shed. Position the panel to leave a slight overhang on the bottom edge. Screw the panel to the roof beams and side framing. Repeat for the rear right panel, and continue round until all panels are in place.
Place the front roof framing over the front of the roof panels, and secure in place with washers and screws in the middle of the frame, leaving the apex and eaves holes. Repeat for the side framing, again just fixing in the middle for now.
Align corner caps over each corner of the shed, and secure in place with a screw.
Put the ridge cover over the apex, and secure at each end and the middle.
Fix the ventilation plates to the gaps at the front and back of the shed.
Using plastic screw caps, go around the inside of the shed and cover any bare screws.
Put the doors in

Gather all the parts necessary for assembling the doors.
Attach the side framing to each side of the door panel, making sure the framing points into the door. Arrange the diagonal framing bars and secure with nuts, bolts and screws.
Attach the top and bottom framing bars to the the left door and secure at each end. Repeat for the right door.
Align door handles on the doors, and secure with bolts and nuts. Attach plastic door catches to each side of the bottom framing, and secure in the same way.
Slide the base of the door into the groove in the threshold of the shed and push the top of the door into position. Align the holes at the top of each door to line up with the runners you inserted earlier. Affix with screws.
Lubricate the runners with standard household oil lubricant, and wipe away the excess.
To help protect your shed and its contents from the elements, seal all the bolts with silicone to stop water creeping in, and make sure that you regularly clear leaves and other debris from the building.
Your metal shed is now complete! Check out this video to see how it's done, the Waltons way.
Share:
How to dismantle a shed
How to power your garden shed off-grid in three steps