

Garden Tips
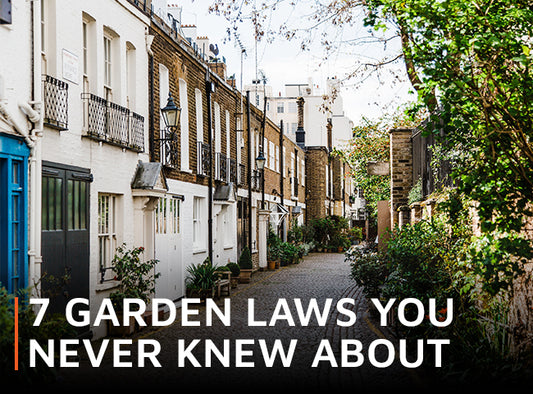
7 garden laws you never knew about
Know what your legal rights and responsibilities are as a garden-owner? If not, it's time to brush up on 7 of the most useful garden laws to keep you and...
7 garden laws you never knew about
Know what your legal rights and responsibilities are as a garden-owner? If not, it's time to brush up on 7 of the most useful garden laws to keep you and...
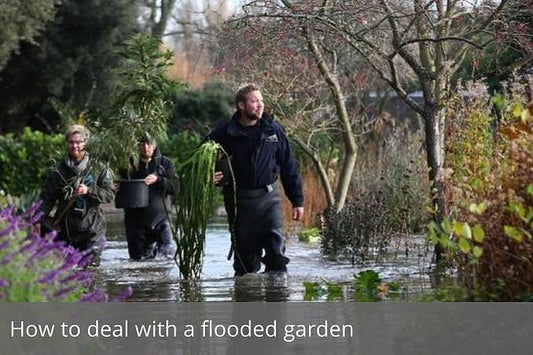
How to deal with a flooded garden
Erratic weather in recent years has made flooding a common issue. Gardeners professional and private have seen their pride and joy destroyed by heavy rain and the resulting standing water....
How to deal with a flooded garden
Erratic weather in recent years has made flooding a common issue. Gardeners professional and private have seen their pride and joy destroyed by heavy rain and the resulting standing water....
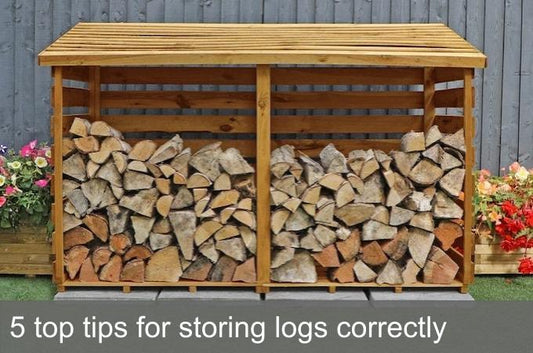
5 top tips for storing logs correctly
If you’ve installed a wood-burner or re-instated an old fireplace to heat your home through the winter, keep your logs neatly stacked and easily-accessible in a dedicated log store.
5 top tips for storing logs correctly
If you’ve installed a wood-burner or re-instated an old fireplace to heat your home through the winter, keep your logs neatly stacked and easily-accessible in a dedicated log store.

How to Make Your Garden Work for the Whole Family
Some of the best family memories are made together in the garden, but it is often an area of the house that is left neglected. However, it doesn’t need to...
How to Make Your Garden Work for the Whole Family
Some of the best family memories are made together in the garden, but it is often an area of the house that is left neglected. However, it doesn’t need to...
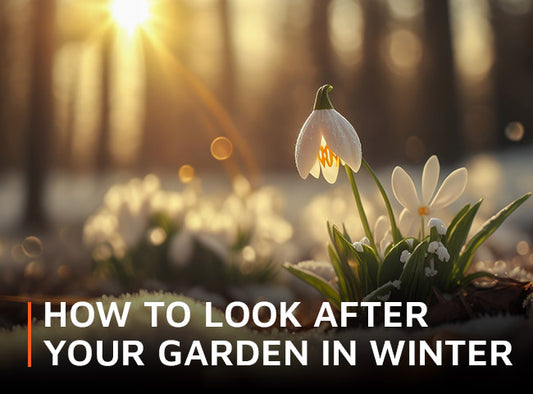
How to look after your garden in winter
Winter may be here but there are a surprising number of tasks to keep you busy out in the garden. Now’s the time to wrap your plants up warm, clear...
How to look after your garden in winter
Winter may be here but there are a surprising number of tasks to keep you busy out in the garden. Now’s the time to wrap your plants up warm, clear...
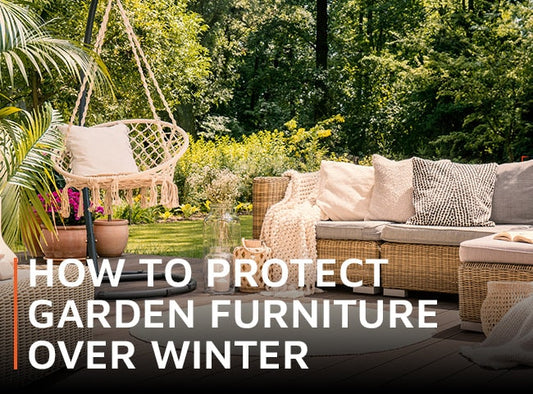
How to protect garden furniture over winter
Here’s how to protect and store your garden furniture over winter, so you can enjoy it summer, after summer, after summer.
How to protect garden furniture over winter
Here’s how to protect and store your garden furniture over winter, so you can enjoy it summer, after summer, after summer.